Few materials bring the warmth and character of wood to a kitchen. A wood backsplash creates an immediate sense of coziness — rustic farmhouse, Scandinavian minimalism, coastal cottage, or mid-century modern all benefit from the natural grain, tone, and texture that only real wood provides.
But kitchens are harsh environments for wood. Water, steam, grease, and heat are constant threats. Before committing to a wood backsplash, you need to understand what you're signing up for — and whether there are smarter ways to get the look you want.
Types of Wood Backsplash
Reclaimed Wood Planks
Salvaged barn wood, pallet wood, or architectural salvage brings instant character. Each plank has a unique history — nail holes, weathering, paint remnants. The rustic look is hard to replicate with new materials.
Pros: Unique character, sustainable (reusing existing material), affordable if sourced locally
Cons: Inconsistent thickness makes installation tricky, may harbor pests or mold if not properly treated, needs thorough sealing
Shiplap
Tongue-and-groove boards laid horizontally create the classic shiplap look popular in farmhouse kitchens. Painted white, it's bright and textured. Left natural, it's warm and inviting.
Pros: Clean lines, easy to paint, widely available
Cons: Gaps between boards trap grease and moisture, not inherently waterproof
Butcher Block Panels
Thick butcher block (often maple or walnut) cut as a backsplash panel creates a continuous, warm surface. It can match butcher block countertops for a cohesive look.
Pros: Beautiful grain, can be sanded and refinished, substantial feel
Cons: Expensive, heavy, requires oil treatment, vulnerable to water damage at seams
Wood-Look Tile
Porcelain or ceramic tile printed to look like wood grain. It provides the aesthetic of wood with the durability of tile. Available in plank formats that mimic hardwood flooring.
Pros: Waterproof, heat-resistant, durable, convincing appearance from a distance
Cons: Still requires grout, lacks the tactile warmth of real wood, up-close the print can look repetitive
The Real Challenges of a Wood Backsplash
Moisture Damage
Kitchens generate moisture constantly — from boiling water, running faucets, dishwasher steam, and hand washing. Wood absorbs moisture, which causes swelling, warping, and eventually rot. Behind a sink is the highest risk zone.
Mitigation: Seal with marine-grade polyurethane or a food-safe waterproof finish. Reapply annually. Ensure excellent ventilation (range hood, open windows).
Heat Concerns
Building codes in many jurisdictions require non-combustible materials within a certain distance of cooktops and ranges. Wood directly behind a gas burner is a genuine fire hazard. Even behind an electric stove, sustained heat can dry, crack, and discolor wood.
Mitigation: Never place wood directly behind a cooktop without a heat shield. Check local building codes. Some codes require 18+ inches of non-combustible material above a cooking surface.
Grease Absorption
Cooking oil, grease splatters, and food particles love to settle into wood grain. Unsealed wood absorbs these permanently, creating dark spots and odors. Even sealed wood can develop grease buildup in surface textures.
Mitigation: Use a satin or semi-gloss sealant that creates a wipeable surface. Clean after every cooking session. Accept that the wood will develop a patina over time.
Warping and Movement
Wood expands and contracts with humidity changes. In a kitchen where humidity swings between dry winter heating and steamy summer cooking, this movement can cause gaps between planks, buckling, or separation from the wall.
Mitigation: Use properly kiln-dried wood. Allow it to acclimate in your kitchen for 48–72 hours before installation. Use flexible adhesive rather than rigid mounts.
Where Wood Backsplash Works Best
Given the challenges, wood is most successful in specific areas:
- Away from the stove — on side walls, above a coffee station, or behind open shelving
- In dry zones — areas that don't get direct water splash
- In well-ventilated kitchens — good airflow reduces moisture accumulation
- As an accent — a single wood-clad wall with a different material behind the stove and sink
The safest approach: use wood where it'll look beautiful, and use a moisture/heat-resistant material where the kitchen demands it.
Getting the Wood Look Without the Risk
If you love the warmth of wood but want something practical for the full backsplash area:
Wood-look porcelain tile offers the most realistic alternative. Modern printing technology creates convincing grain patterns, and the material is waterproof, heat-resistant, and easy to clean. The trade-off is grout lines and a surface that feels like tile, not wood.
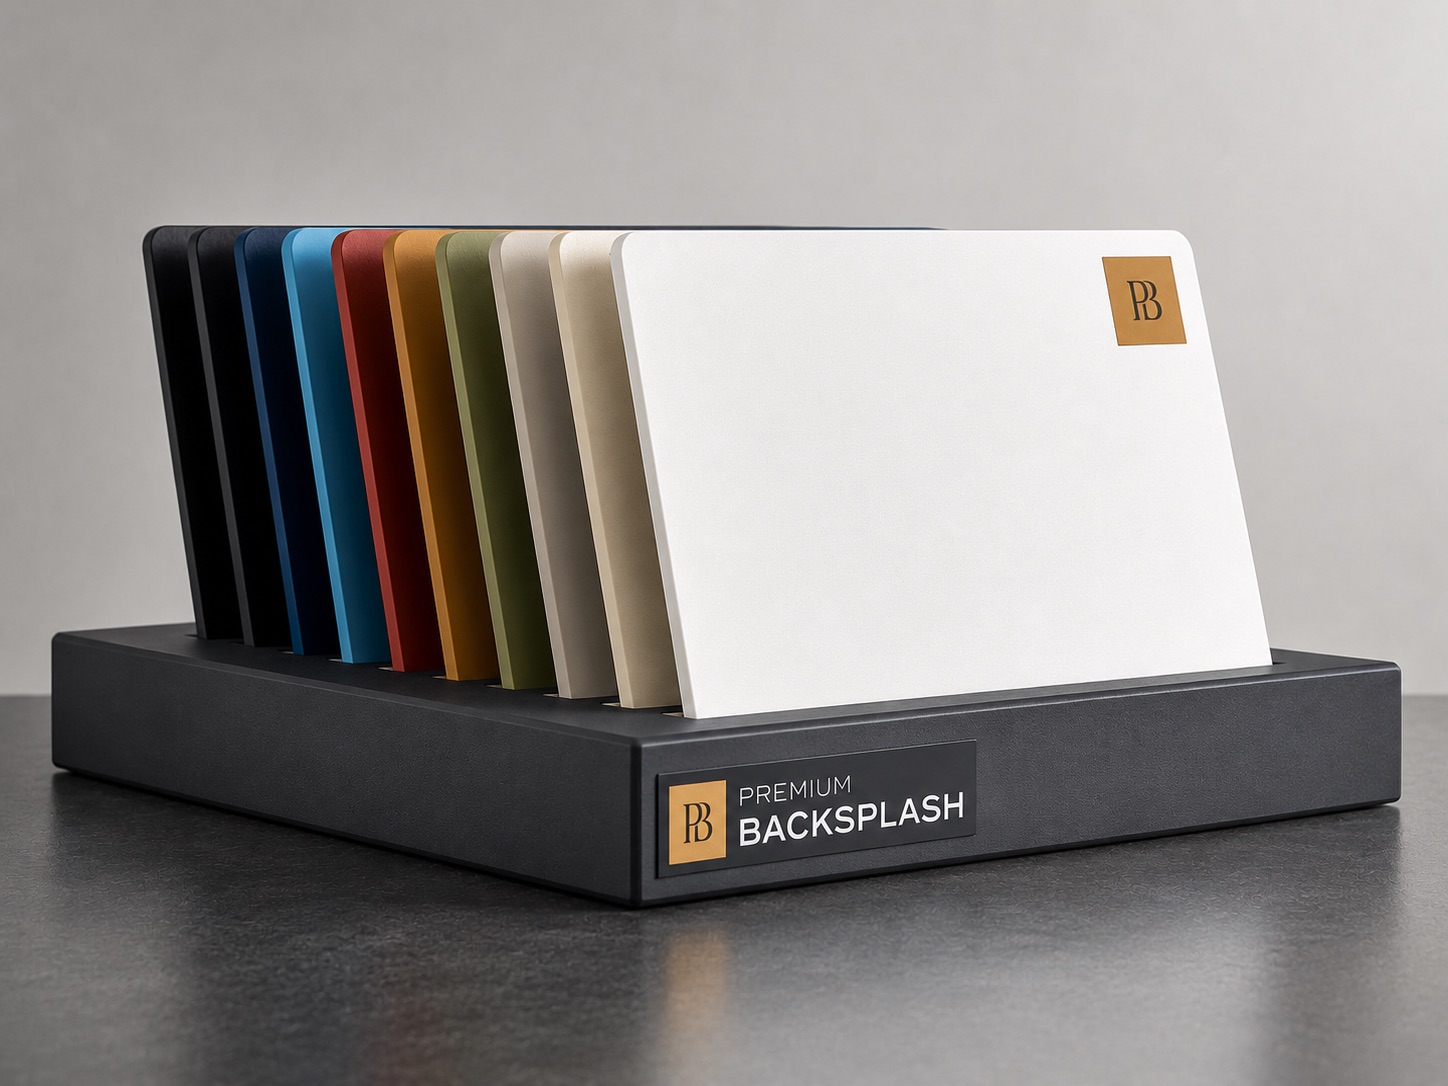
Warm-toned aluminum panels from Premium Backsplash won't mimic wood grain, but warm neutrals — tan, camel, warm gray, terracotta — deliver the same cozy palette in a seamless, heat-resistant, waterproof panel. For homeowners who want warmth without wood's vulnerabilities, this is the most practical path.
Vinyl plank backsplash uses peel-and-stick vinyl planks designed for walls. Convincing from a distance and waterproof, but not heat-resistant and tends to peel over time.
Laminate panels offer wood-grain prints on a wipeable surface. Affordable and moisture-resistant, but not heat-proof and can look obviously fake.
Installation Tips for Real Wood Backsplash
If you're committed to real wood, follow these guidelines:
- Seal all six sides — front, back, top, bottom, and both edges. Moisture enters from every direction
- Use construction adhesive + nails — adhesive alone may fail as wood expands
- Leave expansion gaps — 1/8" gaps at edges covered by trim or caulk
- Install a moisture barrier — plastic sheeting between the wall and wood in high-moisture areas
- Finish before installing — apply your sealant in a controlled environment, not on the wall
- Plan for replacement — even well-maintained wood backsplashes need refinishing every 3–5 years
The Bottom Line
A wood backsplash is a statement about warmth, character, and natural materials. When done right — proper sealing, smart placement, realistic expectations — it adds something no other material can. But kitchens don't make it easy for wood.
Be strategic. Use wood where it shines (dry walls, accent areas, coffee nooks) and pair it with heat/moisture-resistant materials where the kitchen fights back. Your design can have all the warmth of wood without all the worry — you just have to be thoughtful about where each material lives.