A kitchen backsplash is the vertical surface between your countertop and upper cabinets (or ceiling) that protects the wall from water, grease, heat, and food splatters. It's functional first — preventing wall damage in the hardest-working room in your home — and decorative second.
But that decorative role has grown enormously. The backsplash is now one of the most visible design elements in any kitchen, and the material, color, and style you choose can define the room's entire personality. This guide covers everything you need to know.
What Does a Backsplash Actually Do?
Before diving into materials and aesthetics, it's worth understanding why backsplashes exist:
Wall Protection
Without a backsplash, the drywall behind your sink and stove absorbs water, steam, and grease. Over months, this leads to staining, mold growth, and structural damage. A backsplash creates a waterproof or water-resistant barrier that's easy to clean.
Heat Shield
Behind a cooktop, the backsplash faces radiant heat from burners. Non-combustible backsplash materials protect the wall from heat damage and meet building code requirements in most jurisdictions.
Easy Cleaning
Smooth, sealed backsplash surfaces let you wipe away cooking splatters in seconds. Without one, cleaning a textured or painted drywall surface is far more difficult and less effective.
Visual Anchor
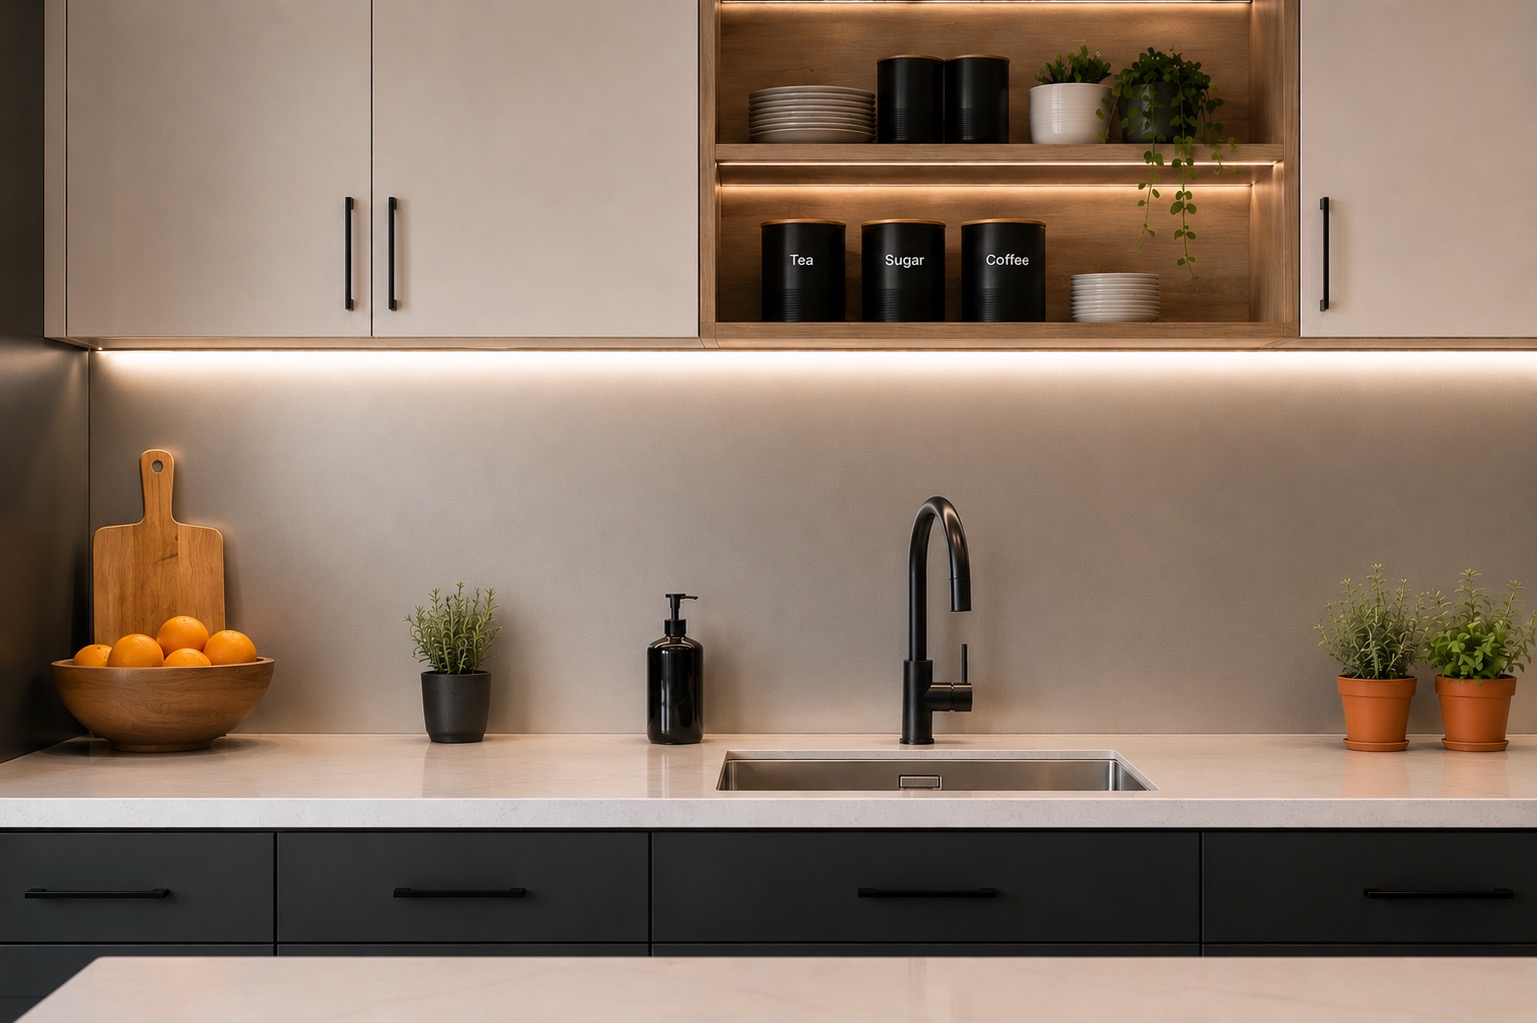
The backsplash connects countertops to upper cabinets and creates a visual backdrop for the entire kitchen. It's the one surface at eye level where material and color choices have the greatest impact.
Backsplash Materials: Complete Comparison
Ceramic Tile
The most popular backsplash material in America. Made from clay fired at 1,800–2,400°F, ceramic tile comes in thousands of colors, shapes, and sizes.
Cost: $1–$15/sq ft (material)
Installation: DIY-friendly with basic tools
Durability: 15–25 years
Maintenance: Grout requires sealing and periodic cleaning
Heat resistance: Excellent
Best for: Budget-conscious homeowners who want maximum style variety
Porcelain Tile
Denser and harder than ceramic, fired at higher temperatures. Better moisture resistance and durability. Available in large formats that reduce grout lines.
Cost: $3–$25/sq ft
Installation: Requires a wet saw; heavier than ceramic
Durability: 20–30 years
Maintenance: Same grout issues as ceramic, but the tile itself is more stain-resistant
Heat resistance: Excellent
Best for: Homeowners who want better performance than ceramic with similar style options
Natural Stone (Marble, Granite, Slate, Soapstone)
Every piece is unique. Natural stone brings geological beauty and a sense of permanence that manufactured materials can't replicate.
Cost: $5–$100+/sq ft depending on stone type
Installation: Professional recommended for slabs; DIY possible with stone tile
Durability: Decades with proper care
Maintenance: High — requires sealing every 6–12 months, gentle pH-neutral cleaners only, immediate spill cleanup
Heat resistance: Good to excellent depending on stone
Best for: Luxury kitchens where maintenance is an acceptable trade-off for beauty
Glass Tile
Translucent tiles that reflect light and create depth. Non-porous tile surface, but grout between tiles still stains.
Cost: $7–$50/sq ft
Installation: Professional recommended — shows every imperfection
Durability: 15–20 years (but fragile to impact)
Maintenance: Tile is stain-proof; grout is not
Heat resistance: Good (tempered glass) to moderate
Best for: Well-lit kitchens where the backsplash is the focal point
Aluminum Panels
Seamless, custom-cut panels in any color. No grout, no seams, no mortar. Installs over existing surfaces with construction adhesive. Heat-resistant, waterproof, and 100% recyclable.
Cost: $15–$40/sq ft
Installation: DIY-friendly — measure, cut or order pre-cut, adhere
Durability: 20+ years
Maintenance: Wipe with damp cloth. That's it.
Heat resistance: Excellent
Best for: Homeowners who want a modern, zero-maintenance backsplash in a custom color
Stainless Steel
The professional kitchen standard. Sheets or panels of brushed or polished stainless steel are heat-proof, waterproof, and easy to clean.
Cost: $10–$30/sq ft
Installation: DIY possible with panel adhesive
Durability: 15+ years
Maintenance: Low — wipe clean. Shows fingerprints on polished finishes
Heat resistance: Excellent
Best for: Industrial/commercial aesthetic, behind-stove applications
Cement (Encaustic) Tile
Handmade tiles with pigmented patterns that go through the full depth. Bold geometric and floral designs.
Cost: $8–$30/sq ft
Installation: Professional recommended due to weight and inconsistent sizing
Durability: 15–20 years with proper sealing
Maintenance: High — very porous, needs regular sealing
Heat resistance: Good
Best for: Mediterranean, bohemian, or eclectic kitchens that want a statement
Peel-and-Stick Vinyl
Self-adhesive vinyl tiles that mimic real tile. Quick, cheap, removable.
Cost: $3–$15/sq ft
Installation: Pure DIY — peel and stick
Durability: 1–3 years
Maintenance: Moderate — can't scrub aggressively without damaging surface
Heat resistance: Poor — warps and discolors near heat
Best for: Rentals, temporary housing, home staging
Back-Painted Glass
Custom-fabricated tempered glass panels with color painted on the back surface. Creates a luminous, seamless look.
Cost: $40–$80/sq ft installed
Installation: Professional required — custom templated and mounted
Durability: 15+ years
Maintenance: Low — wipe clean
Heat resistance: Good (tempered)
Best for: High-budget modern kitchens
Brick
Real or faux brick creates a rustic, textured surface. Genuine brick is fire-rated and handles heat.
Cost: $5–$30/sq ft
Installation: Professional recommended for real brick
Durability: Decades for real brick
Maintenance: High — porous surface traps grease
Heat resistance: Excellent (real brick)
Best for: Industrial, farmhouse, and loft-style kitchens
How Much Does a Kitchen Backsplash Cost?
For an average kitchen with 30 square feet of backsplash area:
| Material | Material Cost | Installed Cost (DIY) | Installed Cost (Pro) |
|---|---|---|---|
| Peel-and-stick vinyl | $90–$450 | $90–$450 | N/A |
| Ceramic tile | $30–$450 | $155–$700 | $455–$1,200 |
| Porcelain tile | $90–$750 | $215–$1,000 | $515–$1,500 |
| Aluminum panels | $450–$1,200 | $480–$1,250 | $600–$1,500 |
| Glass tile | $210–$1,500 | $335–$1,750 | $735–$2,250 |
| Natural stone | $150–$3,000+ | $275–$3,250 | $675–$3,750 |
| Stainless steel | $300–$900 | $330–$950 | $500–$1,200 |
| Back-painted glass | $1,200–$2,400 | N/A | $1,200–$2,400 |
These ranges reflect typical pricing in 2026. Material costs vary by region, style, and brand. Professional installation adds $10–$25/sq ft for tile and stone.
DIY vs. Professional Installation
DIY-Friendly Materials
- Peel-and-stick: No special tools needed
- Aluminum panels: Construction adhesive and basic cutting tools
- Paint: Brush and roller
- Ceramic tile: Moderate skill needed but achievable for most handy homeowners
Professional Recommended
- Glass tile: Shows every imperfection in adhesive application
- Natural stone slabs: Heavy, expensive, and fragile during transport/installation
- Large-format porcelain: Heavy panels require two people and precision
- Back-painted glass: Custom fabrication and mounting
- Cement tile: Inconsistent sizing requires experience
Cost-Benefit of Professional Installation
Professional tile installation typically costs $10–$25 per square foot. For a 30 sq ft backsplash, that's $300–$750. Consider hiring a pro if:
- You've never tiled before and the material is expensive (glass, stone)
- The layout involves complex cuts (multiple outlets, windows, corners)
- Your time is worth more than the installation cost
- The material is fragile or unforgiving
Kitchen Backsplash Installation Basics
Surface Preparation
Regardless of material, the wall needs to be clean, dry, and structurally sound. Remove outlet covers, clean grease and dust, and fill any holes or cracks. For tile over painted drywall, lightly sand for adhesion.
Standard Height
Traditional backsplash height is 4 inches (a single row of standard tile) to 18 inches (countertop to upper cabinet bottom). Full-height backsplash extends to the ceiling. The trend is moving toward full-height as homeowners see the backsplash as a design feature, not just a functional strip.
Behind the Stove
Building codes typically require non-combustible material for at least 18 inches above the cooktop. If your backsplash material isn't rated for heat, you'll need a different material in this zone.
Around Outlets and Switches
Tile needs to be cut around electrical boxes. Turn off power before working near outlets. After tiling, install box extenders if the tile adds thickness, and use longer screws for outlet covers.
How to Maintain Your Backsplash
Grouted Tile Surfaces
- Seal grout before first use
- Wipe after cooking to prevent grease buildup
- Clean grout monthly with pH-neutral cleaner
- Reseal grout every 6–12 months
- Address stains immediately — the longer they sit, the deeper they penetrate
Natural Stone
- Seal before first use with penetrating stone sealer
- Clean only with pH-neutral stone cleaner (no vinegar, no lemon, no bleach)
- Wipe spills immediately — stone etches from acid
- Reseal every 6–12 months
- Professional deep cleaning annually
Seamless Surfaces (Aluminum, Stainless, Glass Panels)
- Wipe with damp cloth after cooking
- Use mild soap for stubborn spots
- No sealing, no special cleaners, no periodic maintenance
Kitchen Backsplash Trends in 2026
Grout-free designs. The biggest shift in backsplash design is away from individual tiles and toward seamless surfaces. Large-format porcelain, aluminum panels, quartz slabs, and back-painted glass all minimize or eliminate grout lines.
Full-height installation. Backsplashes are growing taller — from countertop to ceiling — especially in kitchens with no upper cabinets. The wall becomes a material showcase.
Bold, saturated color. The all-white kitchen is giving way to deep greens, warm terracottas, navy blues, and matte blacks. Backsplash is often where the color enters.
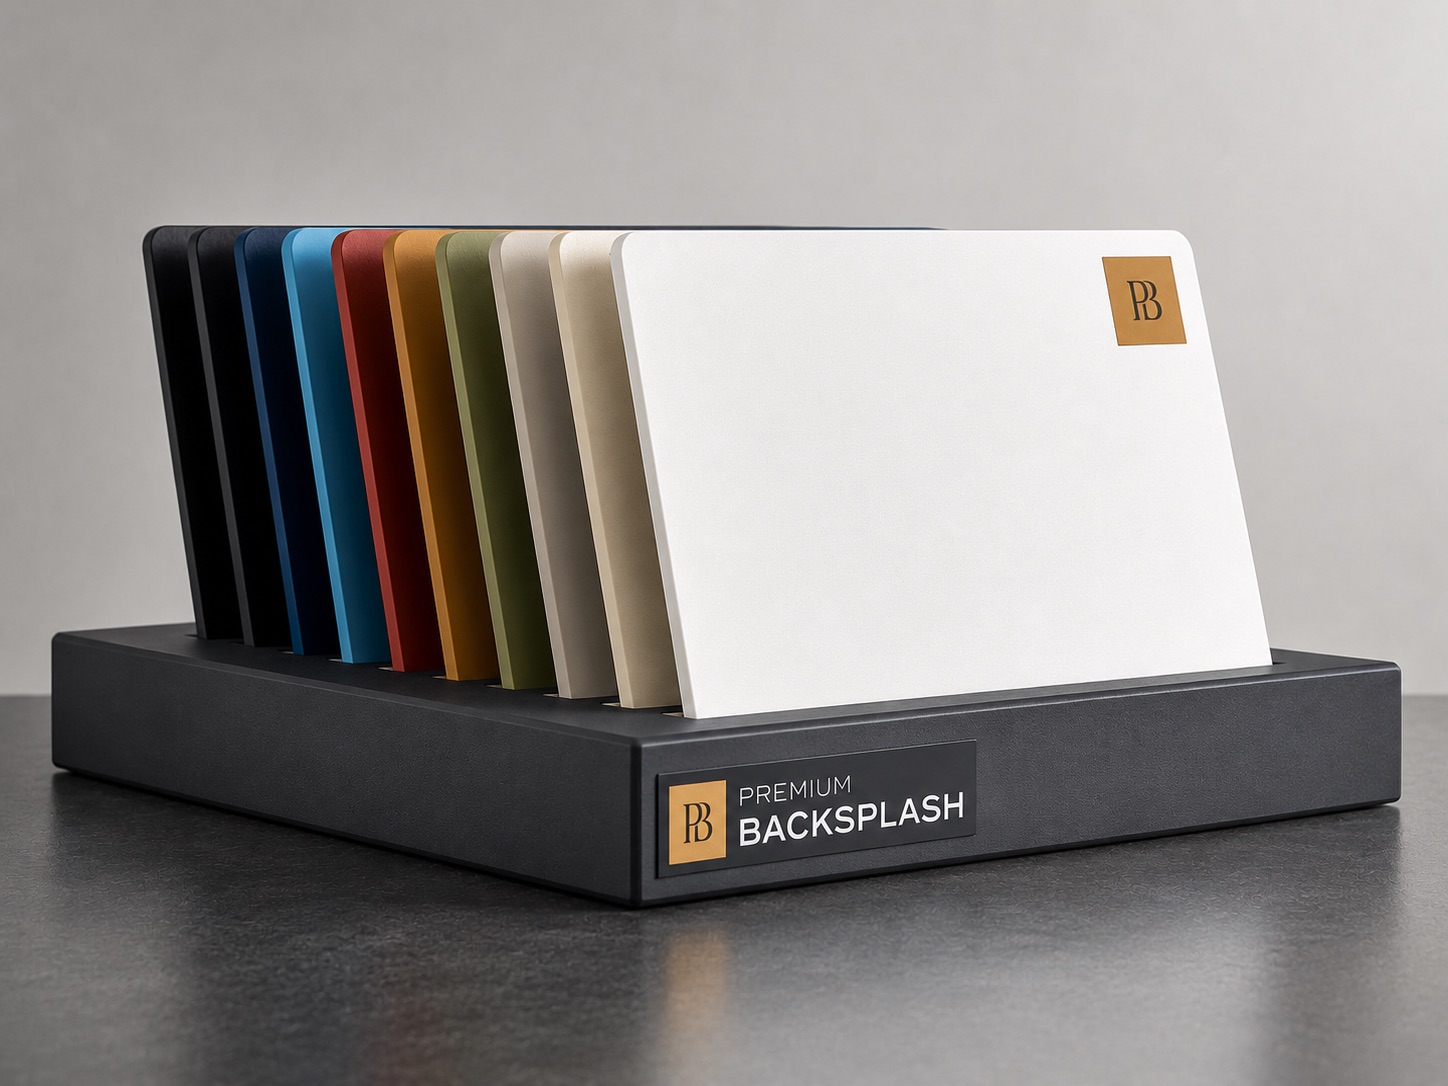
Custom and personalized. Off-the-shelf materials are being replaced by custom-color options that match specific kitchen palettes. Brands like Premium Backsplash represent this shift — any color, any dimension, made for your specific kitchen.
Sustainability. Recyclable materials (aluminum, recycled glass) and sustainable sourcing are increasingly influencing purchasing decisions.
Mixed materials. Using one material behind the stove (heat-resistant) and another on flanking walls (more decorative) creates functional zoning that also looks intentional.
How to Choose the Right Backsplash for Your Kitchen
Step 1: Assess Your Priorities
Rank these in order of importance:
- Budget — what can you actually spend?
- Aesthetics — what look do you want?
- Maintenance — how much upkeep are you willing to do?
- Durability — how long should it last?
- Installation — DIY or professional?
Step 2: Choose Your Countertop First
The backsplash should complement the countertop, not compete with it. Choose your countertop material and color before selecting the backsplash. Busy countertops (granite, veined marble) pair best with solid-color backsplashes. Simple countertops (white quartz, butcher block) can handle patterned backsplashes.
Step 3: Consider Your Cooking Habits
Heavy cooks need materials that handle grease, steam, and heat. Smooth, seamless surfaces are easiest to clean. Porous materials (natural stone, cement tile, brick) require more maintenance in heavy-use kitchens.
Step 4: Get Physical Samples
Never choose a backsplash from a screen. Order or pick up physical samples and hold them against your countertop, in your kitchen, under your lighting. Colors shift dramatically between screens, showrooms, and your actual kitchen at 7 PM.
Step 5: Factor in Total Cost
The purchase price of backsplash material is only part of the cost. Add:
- Installation (labor, tools, materials)
- Ongoing maintenance (sealer, cleaners, professional cleaning)
- Replacement cost if using a short-lived material
- Your time (DIY hours, cleaning hours over the years)
A $200 peel-and-stick backsplash replaced three times over six years costs $600 and three weekends. A $600 permanent panel installed once costs $600 and one afternoon. Think in terms of total lifetime cost.
Frequently Asked Questions
Do I need a backsplash?
Technically no, but practically yes. Without a backsplash, your wall absorbs water, grease, and stains. Painted drywall behind a sink or stove deteriorates quickly. A backsplash protects your wall, simplifies cleaning, and adds value to your home.
How tall should a backsplash be?
Standard height is 4–18 inches. The most common is countertop to the bottom of upper cabinets (typically 18 inches). Full-height (to the ceiling) is increasingly popular and creates a stronger visual impact.
Can I install a backsplash over existing tile?
Yes, in most cases. The existing tile must be firmly bonded, clean, and in good condition. Lightly sand the surface for adhesion. Panel materials (aluminum, stainless) are particularly easy to install over existing tile since they don't require mortar.
What's the easiest backsplash to install?
Paint is the simplest. Among dedicated backsplash materials, peel-and-stick is easiest (but least durable), followed by adhesive-mount panels (aluminum, stainless). Tile requires the most skill and time.
What's the easiest backsplash to clean?
Seamless, non-porous surfaces — aluminum panels, stainless steel, and back-painted glass. No grout means no grout cleaning. No porosity means no sealing.
How long does backsplash installation take?
- Paint: 2–3 hours
- Peel-and-stick: 1–3 hours
- Aluminum panels: 2–4 hours
- Tile (DIY): 1–2 full days plus cure time
- Tile (professional): 1 day plus cure time
- Stone slab (professional): 1 day plus cure time
The Bottom Line
Your kitchen backsplash is one of the few home improvements you'll see and use every single day. It protects your walls, defines your kitchen's personality, and — depending on the material you choose — either simplifies or complicates your cleaning routine for years to come.
The market has never offered more options. From $3 peel-and-stick tiles to $100 marble slabs, from DIY-friendly panels to professionally installed glass, there's a backsplash material that fits every budget, style, and maintenance tolerance.
Choose based on how you actually live — not how you think you should live. If you hate cleaning, don't choose a material that requires weekly maintenance. If you love cooking, choose something that can take the heat. And if you want your kitchen to look exactly how you've imagined it, explore custom options that match your vision rather than settling for whatever's on the shelf.
The best backsplash is the one that still makes you smile after the thousandth dinner.