Installing a kitchen backsplash is one of the most impactful upgrades you can make to your kitchen. Whether you're doing backsplash for the first time or replacing an old one, the process doesn't have to be overwhelming — but it does require planning. This guide walks you through how to install a backsplash in the kitchen from start to finish, covering every major method.
What You Need Before You Start
Before you apply backsplash to your walls, gather your tools and materials. The exact list depends on your material choice, but here's the universal checklist:
- Measuring tape and level — accuracy matters more than speed
- Pencil and painter's tape — for marking layout lines
- Drop cloths — protect countertops and floors
- Cleaning supplies — walls must be clean and dry before installation
For tile installations, you'll also need thin-set mortar, a notched trowel, tile spacers, a tile cutter or wet saw, grout, a grout float, and sealant. For peel-and-stick, you'll need a utility knife and a roller. For aluminum panels, the requirements are simpler — adhesive and a few basic tools.
How to Do Backsplash: Step-by-Step Tile Installation
Step 1: Prepare the Wall Surface
Turn off power to any outlets in the backsplash area. Remove outlet covers and switch plates. Clean the wall thoroughly — grease, dust, or loose paint will prevent adhesion. If you're working with drywall, check that it's in good condition. Patch any holes and sand rough spots.
Step 2: Plan Your Layout
Dry-fit your tiles on the counter to determine your pattern. Start from the center of your focal wall and work outward. This ensures cut tiles end up at the edges where they're less noticeable. Use a level to draw a horizontal reference line where your first full row of tiles will sit.
Step 3: Apply Thin-Set Mortar
Mix thin-set mortar according to package directions — it should have the consistency of peanut butter. Using a notched trowel, spread mortar on a small section of wall (about 3–4 square feet at a time). The ridges created by the notched trowel help the tiles grip.
Step 4: Set the Tiles
Press each tile firmly into the mortar with a slight twisting motion. Insert spacers between tiles to maintain consistent grout lines. Work in small sections so the mortar doesn't dry before you place tiles. Check your level frequently.
Step 5: Cut Edge Tiles
Measure each edge piece individually — walls are rarely perfectly square. Use a tile cutter for straight cuts and a wet saw for L-shaped or complex cuts around outlets.
Step 6: Let It Cure
Allow the mortar to cure for 24 hours before grouting. Don't rush this step — tiles that shift during curing will haunt you later.
Step 7: Grout, Seal, and Finish
Apply grout with a rubber float, pressing it into the joints at a 45-degree angle. Wipe excess grout with a damp sponge after 15–20 minutes. Once the grout has cured (another 24–72 hours), apply a grout sealer to protect against moisture and staining.
How to Put Up Backsplash: The Peel-and-Stick Method
Peel-and-stick backsplash tiles have become popular for renters and DIYers who want a quick update. The process is straightforward:
- Clean the wall thoroughly with rubbing alcohol
- Measure and mark your layout
- Peel the backing off each tile and press firmly into place
- Use a roller to ensure full adhesion
- Cut edge pieces with a utility knife or scissors
The appeal is speed — most peel-and-stick installations take a single afternoon. The tradeoff is durability. Peel-and-stick tiles can lift in humid environments, yellow near stovetops, and rarely last more than 3–5 years before looking worn.
How to Install Backsplash in Kitchen: The Seamless Panel Method
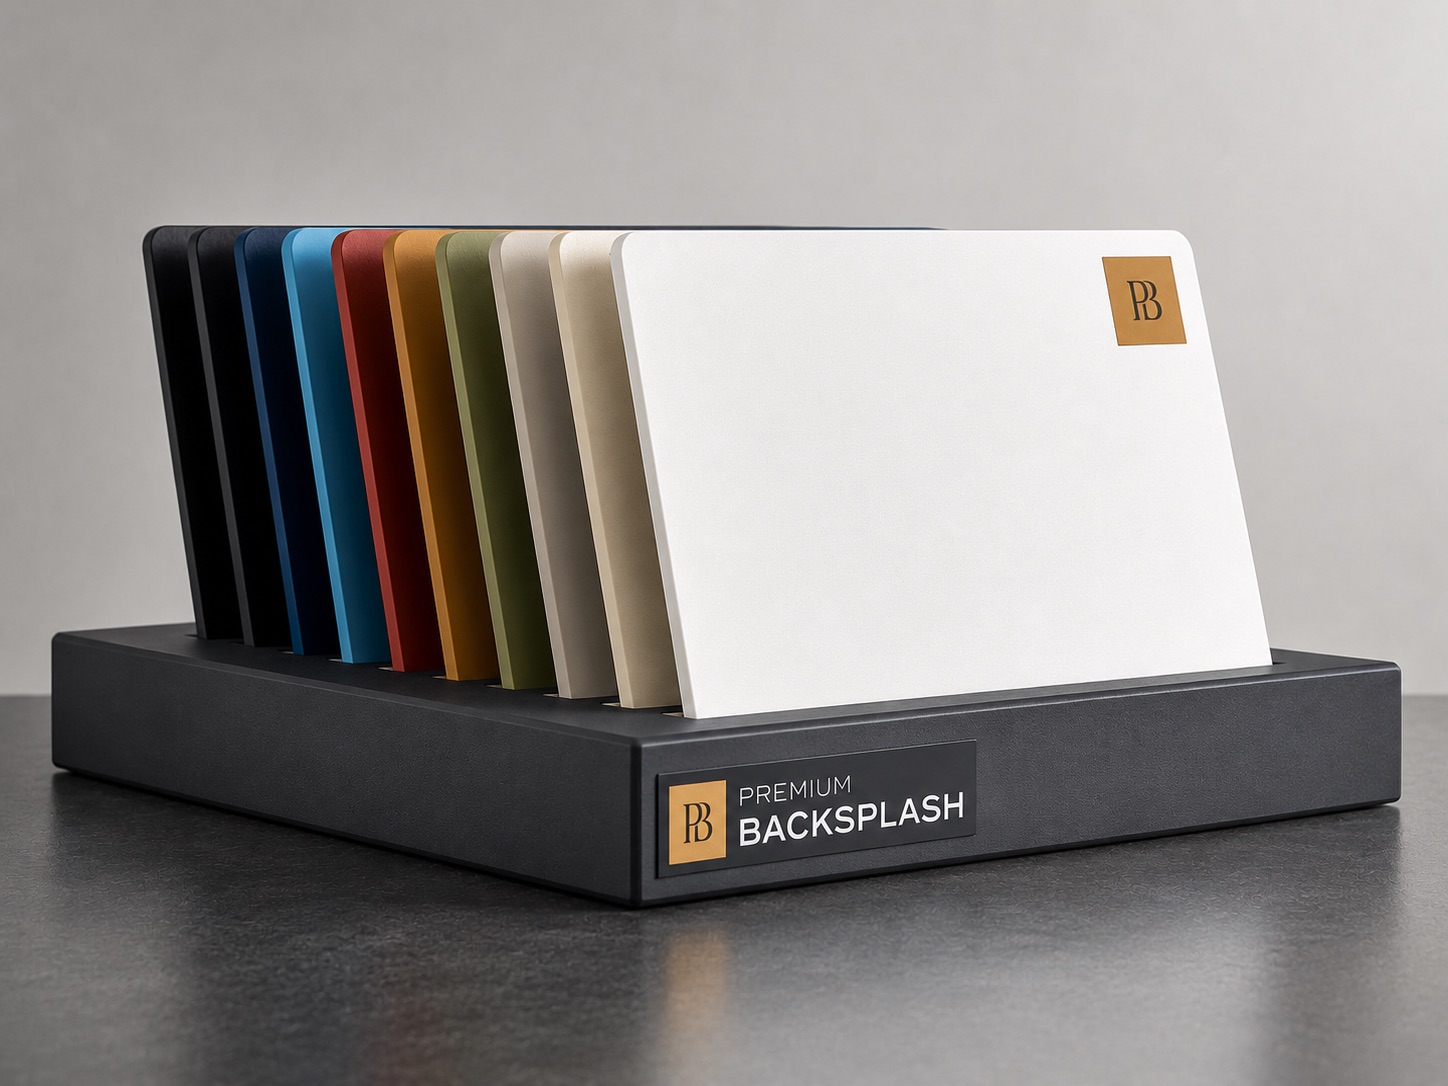
There's a third option that's gaining ground: seamless aluminum panels that install directly over your existing wall — or even over old tile.
The installation process for aluminum backsplash panels is significantly simpler than tile:
- Measure your backsplash area (length and height)
- Order a custom-cut panel to your exact dimensions
- Apply construction adhesive to the wall or panel back
- Press the panel into place and secure
There's no grouting, no curing time, no tile cutting, and no spacers. The panel arrives pre-cut to your specifications, including cutouts for outlets and corners. Most installations take 1–2 hours rather than 2–3 days.
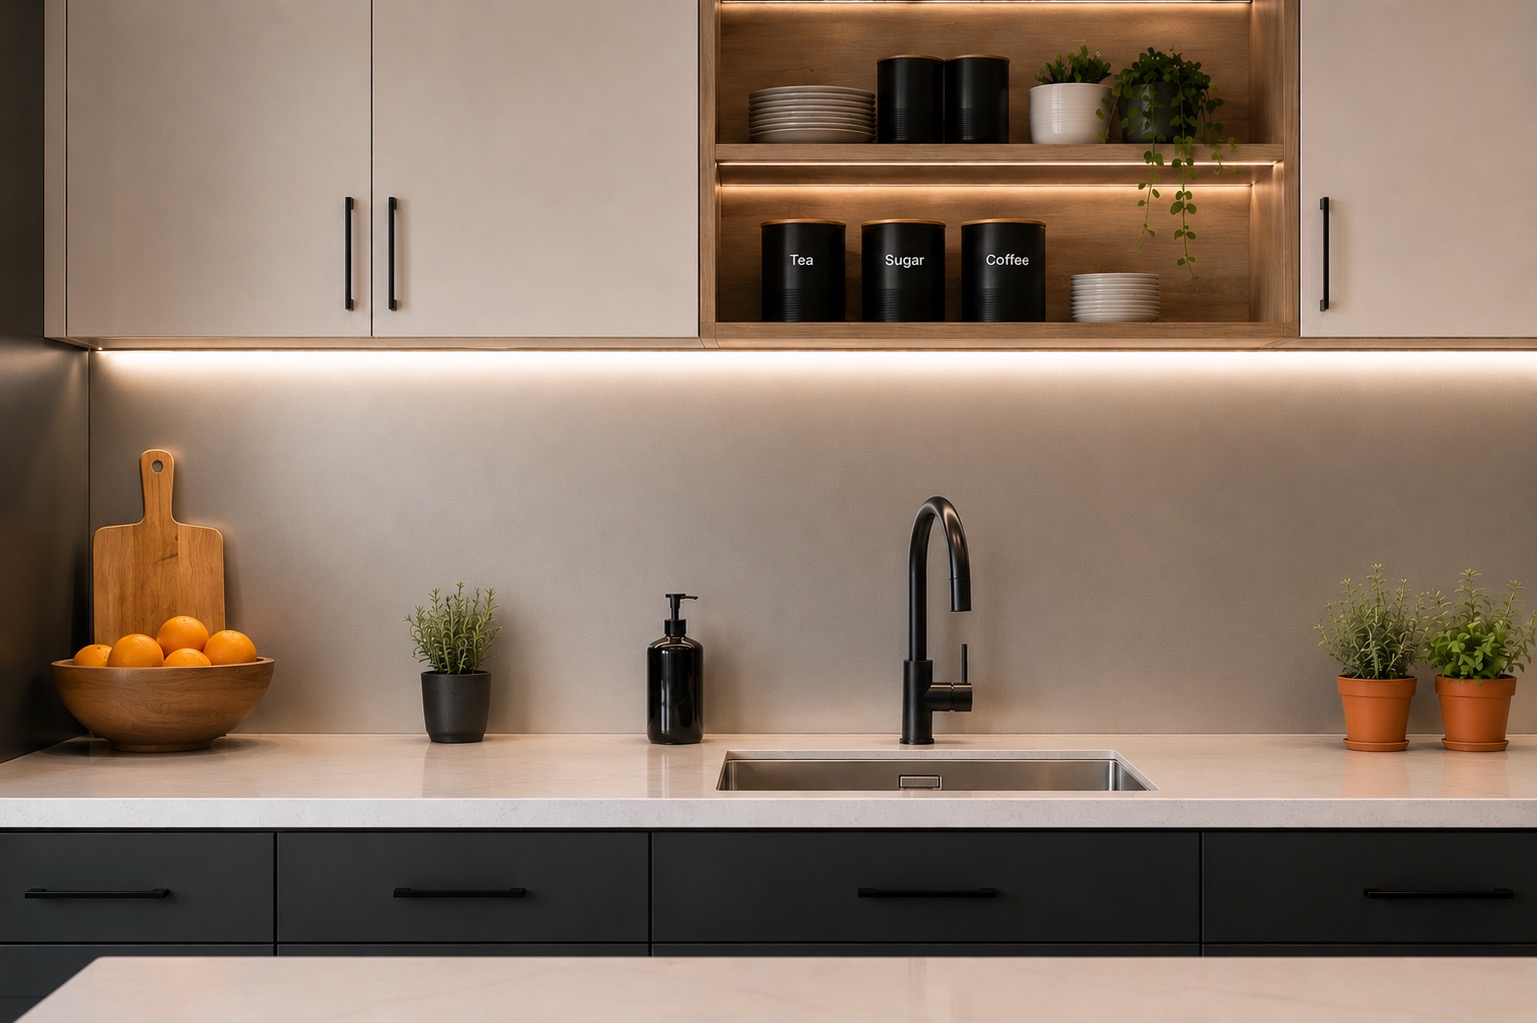
Why Some Homeowners Are Choosing Panels Over Tile
The shift toward seamless panels makes sense when you consider the full picture. Tile installation requires multiple specialized tools, multiple days, and either professional labor ($10–$25 per square foot for installation alone) or a significant time investment for DIY. A single aluminum panel eliminates grout maintenance entirely — no scrubbing, no resealing, no mold growth in damp areas behind the sink.
Common Mistakes When Installing Backsplash
Regardless of the method you choose, watch out for these pitfalls:
- Not turning off electricity before working near outlets — safety first
- Skipping wall prep — adhesion failures start here
- Working in sections that are too large — mortar and adhesive dry faster than you think
- Ignoring level lines — a crooked first row makes every subsequent row crooked
- Forgetting to account for outlets — plan cutouts before you start cutting
How Much Does It Cost to Do Backsplash?
Budget expectations vary widely by material:
- Ceramic tile (DIY): $3–$8 per square foot for materials, plus tools
- Professional tile installation: $15–$35 per square foot all-in
- Peel-and-stick: $5–$15 per square foot
- Aluminum panels: Starting around $450 for a standard panel, with installation far simpler
The real cost comparison should factor in longevity and maintenance. A tile backsplash that needs regrouting every 5–7 years accumulates costs that a maintenance-free panel doesn't.
Ready to Install Your Backsplash?
If the multi-day tile process feels like more than you bargained for, consider exploring seamless aluminum backsplash panels from Premium Backsplash. Custom-cut to your exact measurements in any color, they install in hours — not days — and never need grouting or resealing. It might be the easiest kitchen upgrade you'll ever make.