You want a new backsplash, but the thought of demolishing the old one — dust everywhere, damaged drywall, days of disruption — makes you want to keep living with what you have. Good news: you don't always have to tear out the existing backsplash to get a completely new look.
This guide covers how to replace backsplash the traditional way, and more importantly, how to change backsplash without removing tile.
The Traditional Replacement Process
If you go the full demolition route, here's what you're signing up for:
- Remove existing tile — chisel, pry bar, hammer, 4–8 hours of labor
- Repair the wall — patch drywall damage, skim coat, sand smooth (1 day plus drying time)
- Prepare the surface — prime, clean, let dry
- Install new backsplash — 1–3 days depending on material
- Grout and seal — if using tile, add another 2–3 days for curing
Total timeline: 5–7 days minimum for a standard kitchen backsplash replacement. Total cost including labor: $1,500–$4,000+ depending on materials and kitchen size.
For many homeowners, this timeline and cost make a backsplash update feel like a major renovation rather than a refresh.
How to Change Backsplash Without Removing Tile
Several materials can install directly over existing tile, turning a week-long project into a one-day update.
Option 1: Aluminum Backsplash Panels Over Tile
This is the cleanest overlay solution. Rigid aluminum panels mount directly over existing tile using construction adhesive. The panel is custom-cut to your exact dimensions, so it covers the old surface completely — grout lines, chipped tiles, dated colors, everything disappears under a single seamless panel.
What you need:
- Measurements of your backsplash area
- Construction adhesive
- Basic tools for positioning
What you don't need:
- Demolition tools
- Drywall repair supplies
- Mortar, grout, or tile cutter
- Multiple days of curing time
The existing tile actually provides a solid, flat substrate for the panel. As long as the old tile is firmly adhered to the wall (not loose or falling off), it serves as a perfect mounting surface.
Option 2: Peel-and-Stick Tile Over Existing Tile
Peel-and-stick backsplash tiles can adhere to smooth, glazed ceramic tile. Clean the surface thoroughly, peel, and apply.
Pros: Cheapest option ($5–$15/sq ft), DIY-friendly, removable Cons: Grout lines may telegraph through thin products; adhesion weakens in heat and humidity; limited lifespan (2–5 years); looks temporary up close
Option 3: Thin Stone or Brick Veneer
Natural stone and brick veneer products (1/4" to 1/2" thick) can install over existing tile with adhesive.
Pros: Real stone/brick appearance; durable Cons: Heavy; grout still required; expensive; some wall areas may need reinforcement
Option 4: Beadboard or Wainscoting Over Tile
Wood-based panels that mount over existing surfaces.
Pros: Affordable; easy to install; traditional aesthetic Cons: Not moisture-resistant behind sinks; not heat-resistant behind stoves; requires painting and sealing
Option 5: Paint Over Existing Tile
As covered in our painting tile backsplash guide, you can paint existing tile with bonding primer and specialty paint.
Pros: Cheapest option; same-day transformation Cons: Short lifespan (1–3 years); chips and peels in kitchen environments; grout lines remain visible
Comparing Overlay Methods
| Method | Cost | Durability | Install Time | Heat-Safe | Grout-Free |
|---|---|---|---|---|---|
| Aluminum panel | $$$ | 20+ years | 1–2 hours | Yes (300°F) | Yes |
| Peel-and-stick | $ | 2–5 years | 2–4 hours | No | Varies |
| Stone veneer | $$$$ | 15+ years | 1–2 days | Yes | No |
| Beadboard | $$ | 5–10 years | Half day | No | Yes |
| Paint | $ | 1–3 years | 1 day + cure | No | No |
When You Must Remove the Old Backsplash
Overlay isn't always possible. You need full removal if:
- Existing tile is loose or falling off — the substrate isn't stable enough for overlay material
- There's water damage behind the tile — moisture problems need to be addressed at the wall level
- You're changing the backsplash height — going shorter requires exposed wall repair
- Building code or inspection requirements — some renovations trigger code compliance that requires full tear-out
The Fastest Path to a New Backsplash
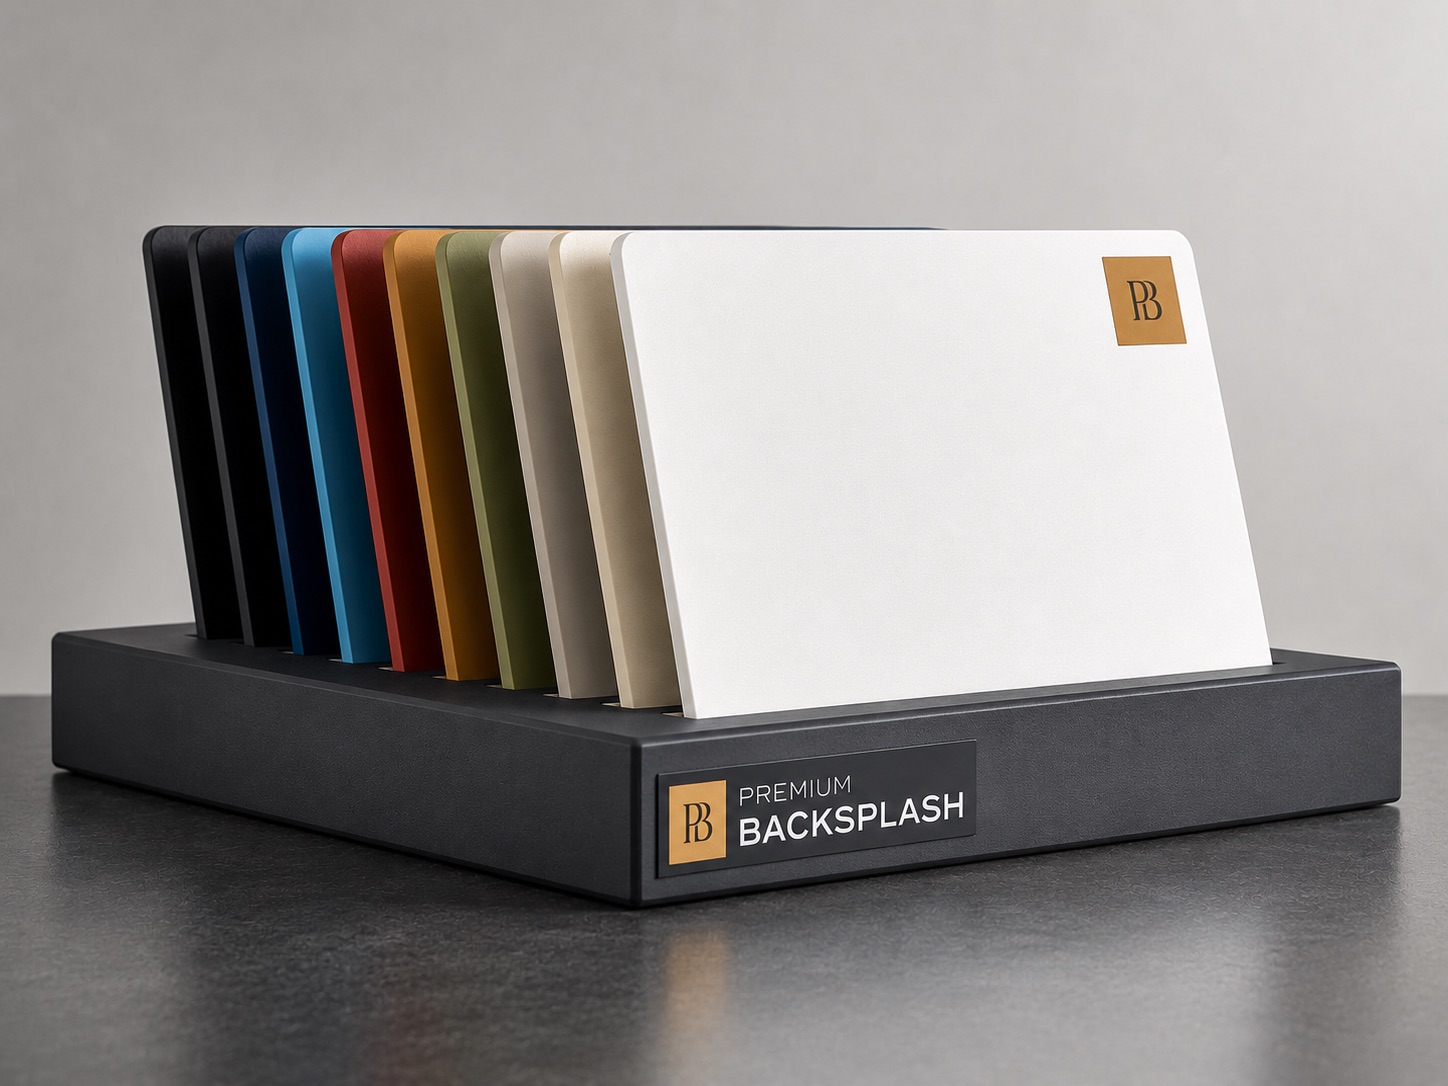
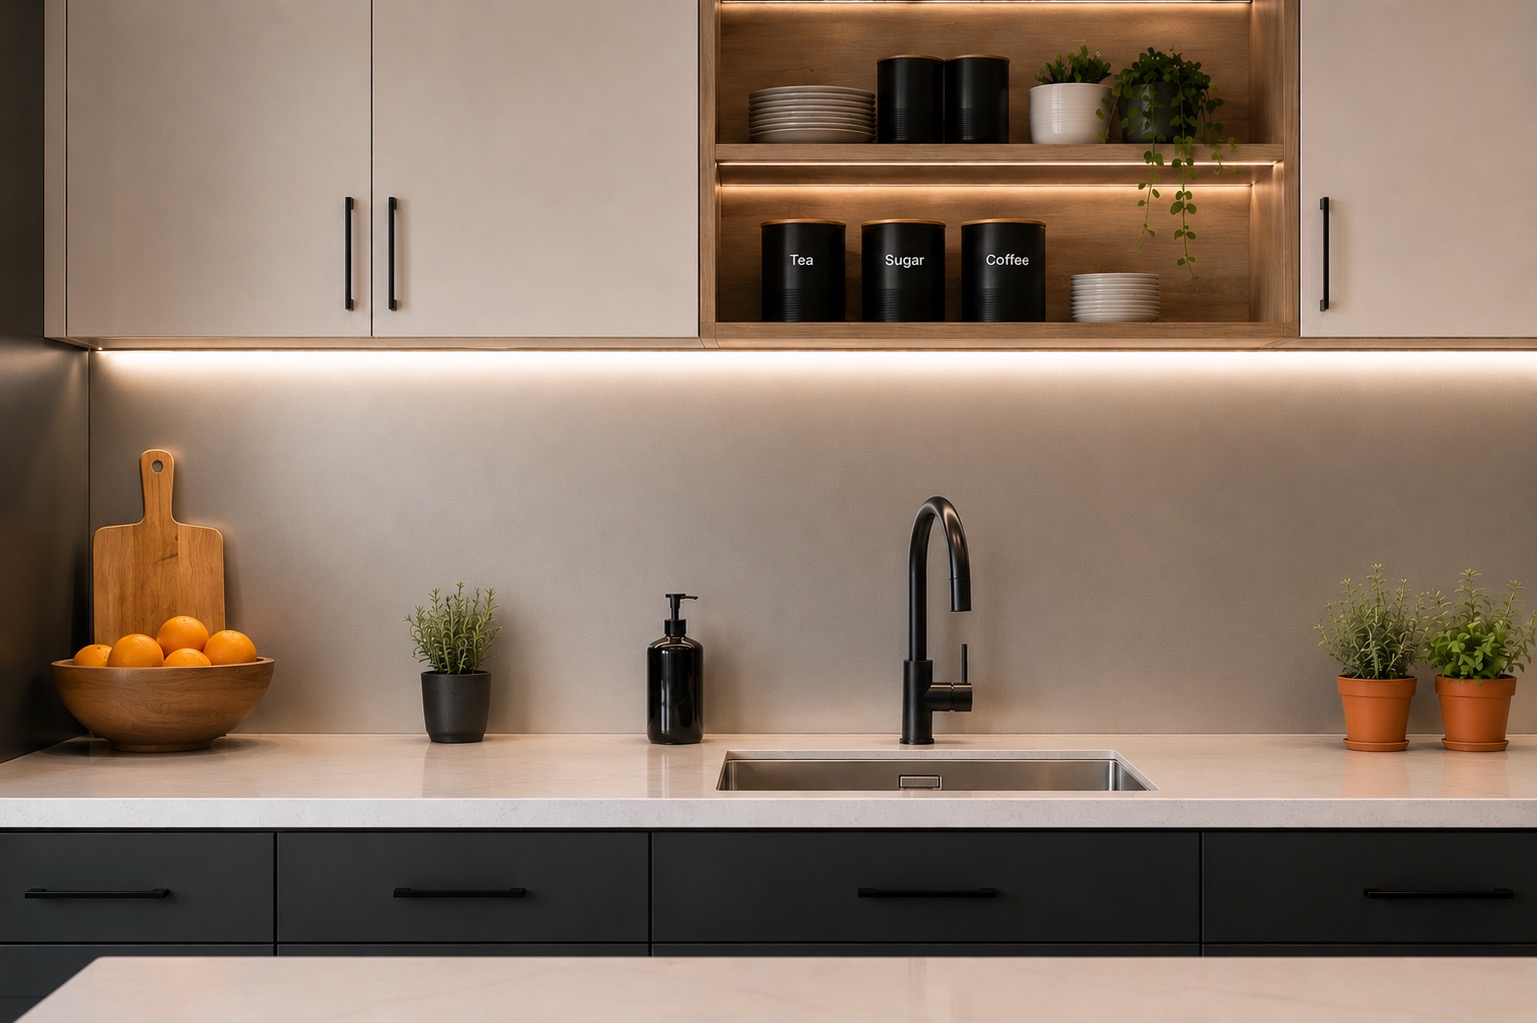
If you want a dramatic change with minimal disruption, installing a custom aluminum panel over existing tile is the most efficient route. Premium Backsplash panels are manufactured to your kitchen's exact measurements in any color — including metallic and custom-matched finishes. The panel mounts over your existing backsplash in 1–2 hours, transforming dated tile into a seamless, modern surface without a single swing of a hammer.
No demolition. No drywall repair. No grouting. No waiting. Just a new backsplash — today.