Tiling a backsplash is one of the most common kitchen DIY projects, and for good reason — it's visible, it's functional, and it can dramatically change the look of a room. But how to install tile backsplash properly involves more steps than most YouTube tutorials suggest. This guide covers the full process, including the details that separate a professional-looking result from a weekend regret.
Can You Put Backsplash on Drywall?
Yes. Most kitchen backsplashes are installed directly on drywall, and it's the standard substrate for tile in residential kitchens. However, there are conditions:
- The drywall must be in good condition. No moisture damage, no crumbling, no peeling paint.
- Skim coat or prime if needed. Glossy or sealed surfaces prevent mortar adhesion. Lightly sand or apply a bonding primer.
- Use the right mortar. Modified thin-set mortar adheres better to drywall than unmodified versions.
If your drywall has water damage — common behind old backsplashes — replace the damaged section before tiling. Installing tile backsplash on drywall that's compromised will eventually lead to tiles popping off.
What About Cement Board?
For areas with heavy moisture exposure (directly behind sinks), some installers prefer cement board over drywall. It's not strictly necessary for a backsplash — you're not building a shower — but it does provide extra insurance against moisture problems.
How to Tile a Backsplash: Complete Process
Tools and Materials
- Tile (order 10% extra for cuts and breakage)
- Modified thin-set mortar
- Notched trowel (size depends on tile — 1/4" x 1/4" for most backsplash tiles)
- Tile spacers (1/16" to 1/8" depending on your look)
- Level (4-foot recommended)
- Tile cutter or wet saw
- Tile nippers for irregular cuts
- Grout and grout float
- Sponge and buckets
- Painter's tape and drop cloths
Step 1: Prepare the Surface
Remove outlet and switch plate covers. Turn off power to those circuits. Clean the wall with TSP (trisodium phosphate) or a degreaser — kitchen walls accumulate an invisible film of cooking grease that destroys mortar adhesion.
If you're installing kitchen backsplash on drywall that's been painted, score the surface lightly with 80-grit sandpaper to give the mortar something to grip.
Step 2: Establish Your Layout
Find the center point of your backsplash area and snap a vertical chalk line. Dry-lay tiles along the counter to see where cuts will fall. Adjust your starting point so you don't end up with slivers (less than half a tile width) at the edges.
Mark a horizontal line one tile height above the counter. This is your starting row reference. The bottom row gets installed last — it often requires custom cuts to account for uneven countertops.
Step 3: Mix and Apply Mortar
Mix thin-set to a smooth, peanut-butter consistency. Let it slake (rest) for 10 minutes, then remix briefly. Spread mortar on a 3–4 square foot section using the flat edge of your trowel, then comb it with the notched edge at a consistent 45-degree angle.
Step 4: Set Tiles Row by Row
Press each tile into the mortar with firm, even pressure. Give it a slight twist to collapse the mortar ridges — this eliminates air pockets. Insert spacers at each corner. Check your level every 3–4 tiles.
Pro tip: Back-butter larger tiles (anything over 4x4 inches). Apply a thin layer of mortar to the back of the tile in addition to the wall. This ensures full coverage and prevents hollow spots.
Step 5: Handle Cuts and Obstacles
- Straight cuts: Score-and-snap tile cutter for ceramic; wet saw for porcelain or stone
- Outlet cutouts: Mark the outlet location on the tile, then use a wet saw to make relief cuts. Snap out the waste with nippers.
- Inside corners: Cut tiles to meet flush in the corner. Don't overlap.
Step 6: Grouting
Wait 24 hours after setting tiles. Mix grout to the manufacturer's specifications. Apply with a rubber float held at 45 degrees, pressing grout into every joint. Work diagonally across the tile to avoid pulling grout out of joints.
After 15–20 minutes, wipe the surface with a damp (not wet) sponge. Rinse the sponge frequently. You'll need to wipe 2–3 times over the next hour to remove the haze.
Step 7: Seal and Finish
Apply grout sealer after 48–72 hours of curing. Reinstall outlet covers. Apply a bead of silicone caulk where the backsplash meets the countertop — this joint needs to flex, so grout will crack there.
How to Do Tile Backsplash: Common Pitfalls
- Mortar too thick or too thin — both cause adhesion failures
- Not back-buttering — leads to hollow tiles that crack when bumped
- Using unsanded grout for wide joints — unsanded grout is for joints under 1/8"
- Grouting too soon — tiles shift and mortar doesn't cure properly
- Skipping the sealer — unsealed grout stains within weeks
The Alternative Worth Considering
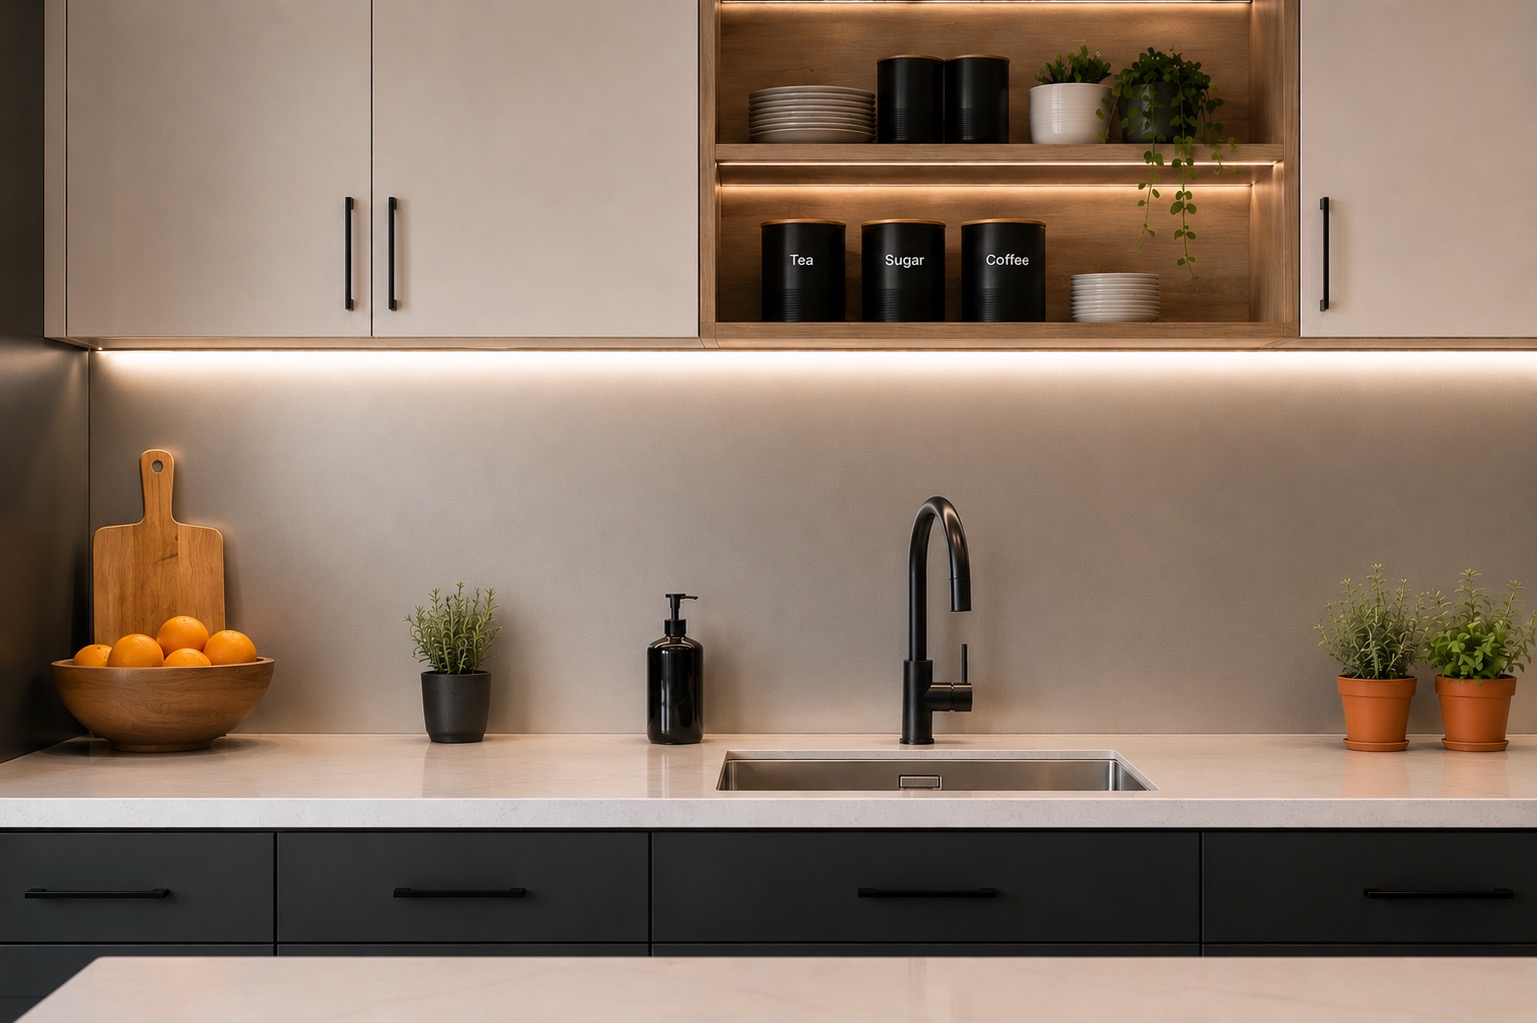
Tiling a kitchen backsplash is a multi-day commitment that demands precision, multiple specialized tools, and ongoing maintenance (grout resealing every 1–2 years). If that sounds like more than you signed up for, seamless aluminum backsplash panels offer a different path entirely.
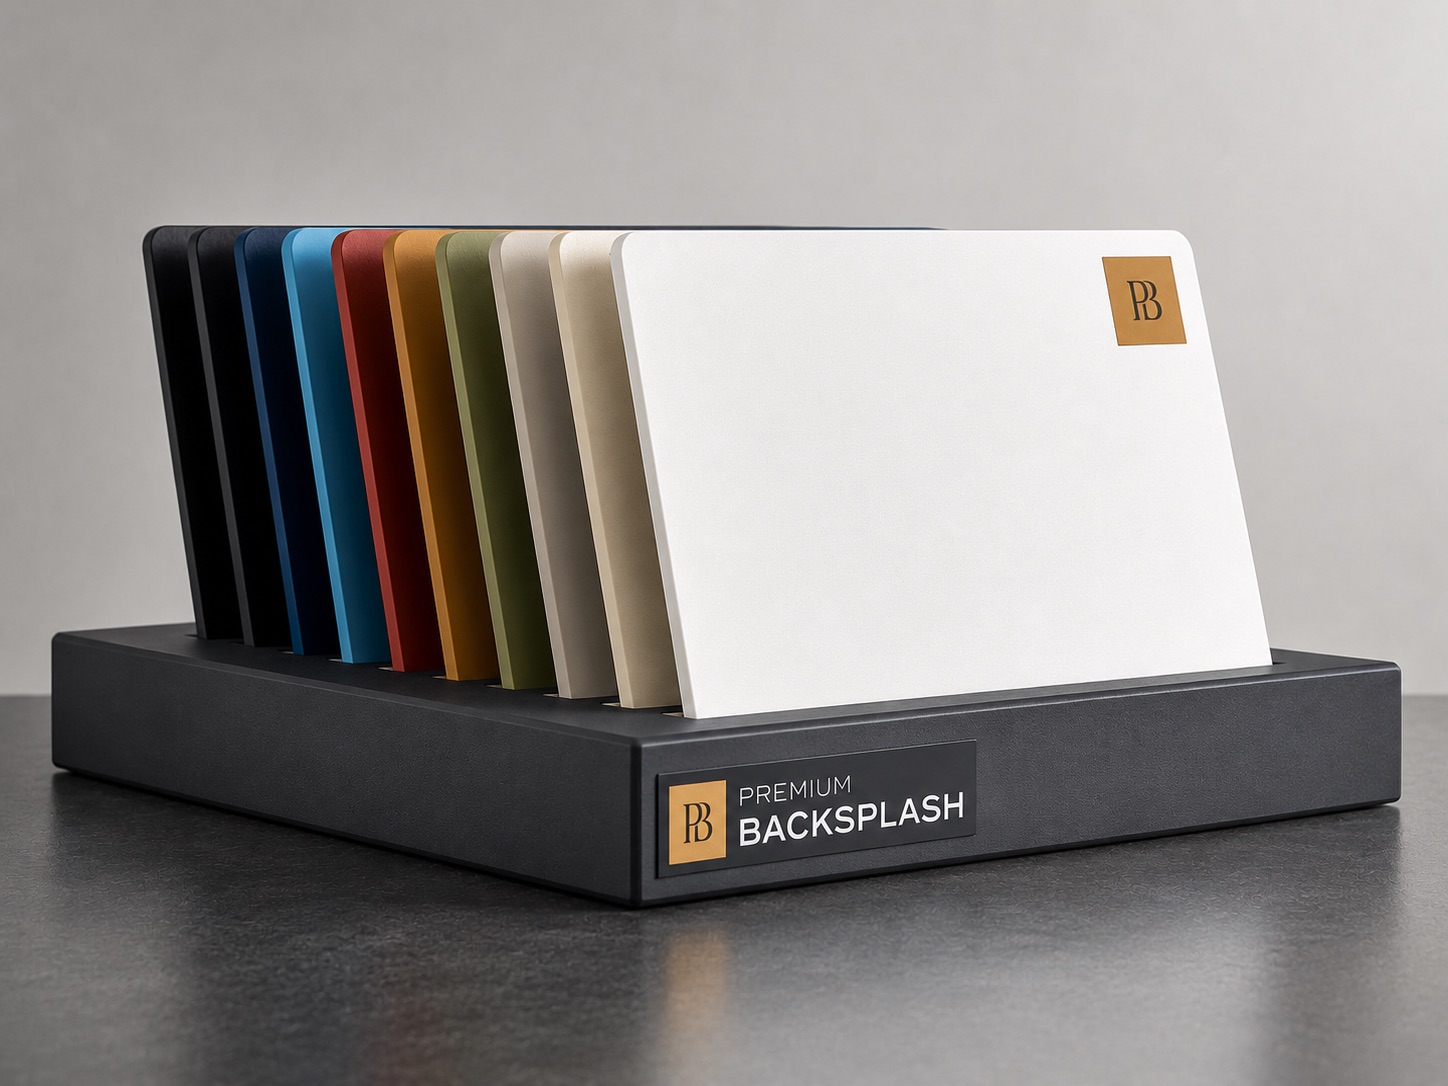
Custom-cut to your exact measurements — including outlet cutouts — aluminum panels install in hours with construction adhesive. No mortar, no grout, no tile cutting, no curing time. Companies like Premium Backsplash offer panels in any color, creating a seamless surface that never needs regrouting. For homeowners who want the result without the multi-day process, it's worth exploring.