Tiling a backsplash is one of the most popular DIY kitchen projects in America. It's not the easiest first project, but with the right tools, materials, and patience, most handy homeowners can achieve professional-looking results over a weekend.
This guide walks through the entire process — from planning and prep to grouting and sealing — then covers easier alternatives for anyone who reads this and thinks "absolutely not."
Before You Start: Planning
Choose Your Tile
Your tile choice affects every aspect of installation:
- Ceramic — easiest to cut, most affordable, good for beginners
- Porcelain — harder, denser, requires a wet saw
- Glass — beautiful but chips easily, needs white thinset and precise technique
- Natural stone — heavy, inconsistent thickness, needs sealing before and after grouting
- Mosaic sheets — faster to cover area but tricky to align at seams
For a first tiling project, ceramic subway tile is the most forgiving choice.
Measure and Order
Measure the backsplash area: length × height of each section, minus windows and any areas you're not tiling. Calculate square footage and add 10–15% extra for cuts, mistakes, and breakage. You don't want to run out mid-project and find the tile is from a different dye lot.
Gather Tools and Materials
Materials:
- Tile + 10–15% extra
- Thinset mortar (modified, appropriate for your tile type)
- Grout (unsanded for joints under 1/8", sanded for larger)
- Grout sealer
- Tile spacers (1/16" for tight joints, 1/8" for standard)
Tools:
- Notched trowel (1/4" × 1/4" for most wall tile)
- Tile cutter or wet saw
- Level (4-foot preferred)
- Tape measure and pencil
- Mixing bucket and drill with paddle mixer
- Grout float
- Large sponge and bucket
- Drop cloths
- Painter's tape
- Utility knife
Step-by-Step: How to Tile a Backsplash
Step 1: Prepare the Surface
Turn off power to any outlets in the backsplash area. Remove outlet covers and switch plates. Cover countertops with drop cloths.
The wall surface should be:
- Clean — remove any grease, dust, or loose paint
- Dry — no moisture issues
- Flat — use a level to check; fill low spots with thinset and let cure
- Sound — paint should be well-bonded; loose or peeling paint needs scraping
If tiling over existing tile, sand the surface for adhesion and make sure old tiles are firmly bonded.
Step 2: Plan Your Layout
Find the center of your backsplash area and mark a vertical line. Dry-fit tiles from center outward to see where cuts fall at the edges. Adjust the center point if it means avoiding very thin slivers at the edges (anything under half a tile looks awkward).
Mark a level horizontal line where your first row of tiles will sit. If you're starting from the countertop, place a temporary ledger board if the countertop isn't perfectly level.
Step 3: Mix and Apply Thinset
Mix thinset mortar according to package directions — aim for a smooth peanut butter consistency. Let it slake (rest) for 10 minutes, then remix briefly.
Apply thinset to a 2–3 square foot section of wall using the flat edge of the trowel. Then comb through it with the notched edge, holding the trowel at a 45-degree angle. The ridges should be consistent and even.
Critical tip: Only spread as much thinset as you can tile in 15 minutes. It skins over quickly and won't bond properly once dried.
Step 4: Set Tiles
Press the first tile into the thinset with a slight twisting motion. This collapses the ridges and ensures full contact. Place spacers and set the next tile. Work from the center outward, bottom to top.
Check level every few tiles. Small adjustments are easy while thinset is wet; impossible once it sets.
For mosaic sheets: Align the first sheet carefully — every subsequent sheet follows from it. Press firmly and evenly across the entire sheet. Watch for mesh sheets that want to curl or individual tiles that sink.
Step 5: Cut Edge and Corner Tiles
Measure each cut piece individually — walls aren't perfectly square, so each cut may be slightly different. Mark the cut line with a pencil.
- Straight cuts: tile cutter (manual snap cutter for ceramic) or wet saw
- L-shaped cuts around outlets: score with a tile cutter and snap, or use a wet saw with multiple relief cuts
- Small notches: tile nippers, one small bite at a time
- Holes: diamond hole saw on a drill
Tip: Cut tiles will have a rough edge. Place cut edges against walls or into corners where trim or caulk will cover them.
Step 6: Let Thinset Cure
Don't touch anything for 24 hours. The thinset needs time to cure fully. Resist the urge to grout early.
Step 7: Apply Grout
Remove all spacers. Mix grout to toothpaste consistency. Working in small sections, press grout into joints with a grout float held at a 45-degree angle, moving diagonally across the tile surface.
After 15–20 minutes, wipe excess grout with a damp (not wet) sponge. Rinse the sponge frequently. Two to three passes should leave clean tile faces with filled joints.
Don't grout where the backsplash meets the countertop. This joint needs flexible caulk, not rigid grout. Same for inside corners.
Step 8: Clean and Seal
After grout hazes (30–60 minutes), buff tile faces with a dry cloth. Wait 24–72 hours for grout to fully cure.
Apply grout sealer according to product directions. This step is critical — unsealed grout stains within weeks in a kitchen environment. Plan to reseal every 6–12 months.
Common DIY Tiling Mistakes
Not leveling the first row. Everything builds from the bottom. If your first row is off, every row above it will be off.
Spreading too much thinset. If it skins over before you tile it, scrape it off and reapply fresh.
Inconsistent spacers. Eyeballing spacing leads to uneven grout lines that are visible from across the room. Use spacers religiously.
Too much water when cleaning grout. Excess water weakens grout and washes out pigment. Damp sponge, not wet.
Skipping grout sealer. Unsealed grout in a kitchen is a stain magnet. This step is non-negotiable.
The Easier Alternative: Skip the Tile Entirely
After reading all that, some homeowners decide tiling isn't for them — and that's a perfectly valid conclusion. The good news is that several backsplash materials achieve a beautiful result with a fraction of the effort:
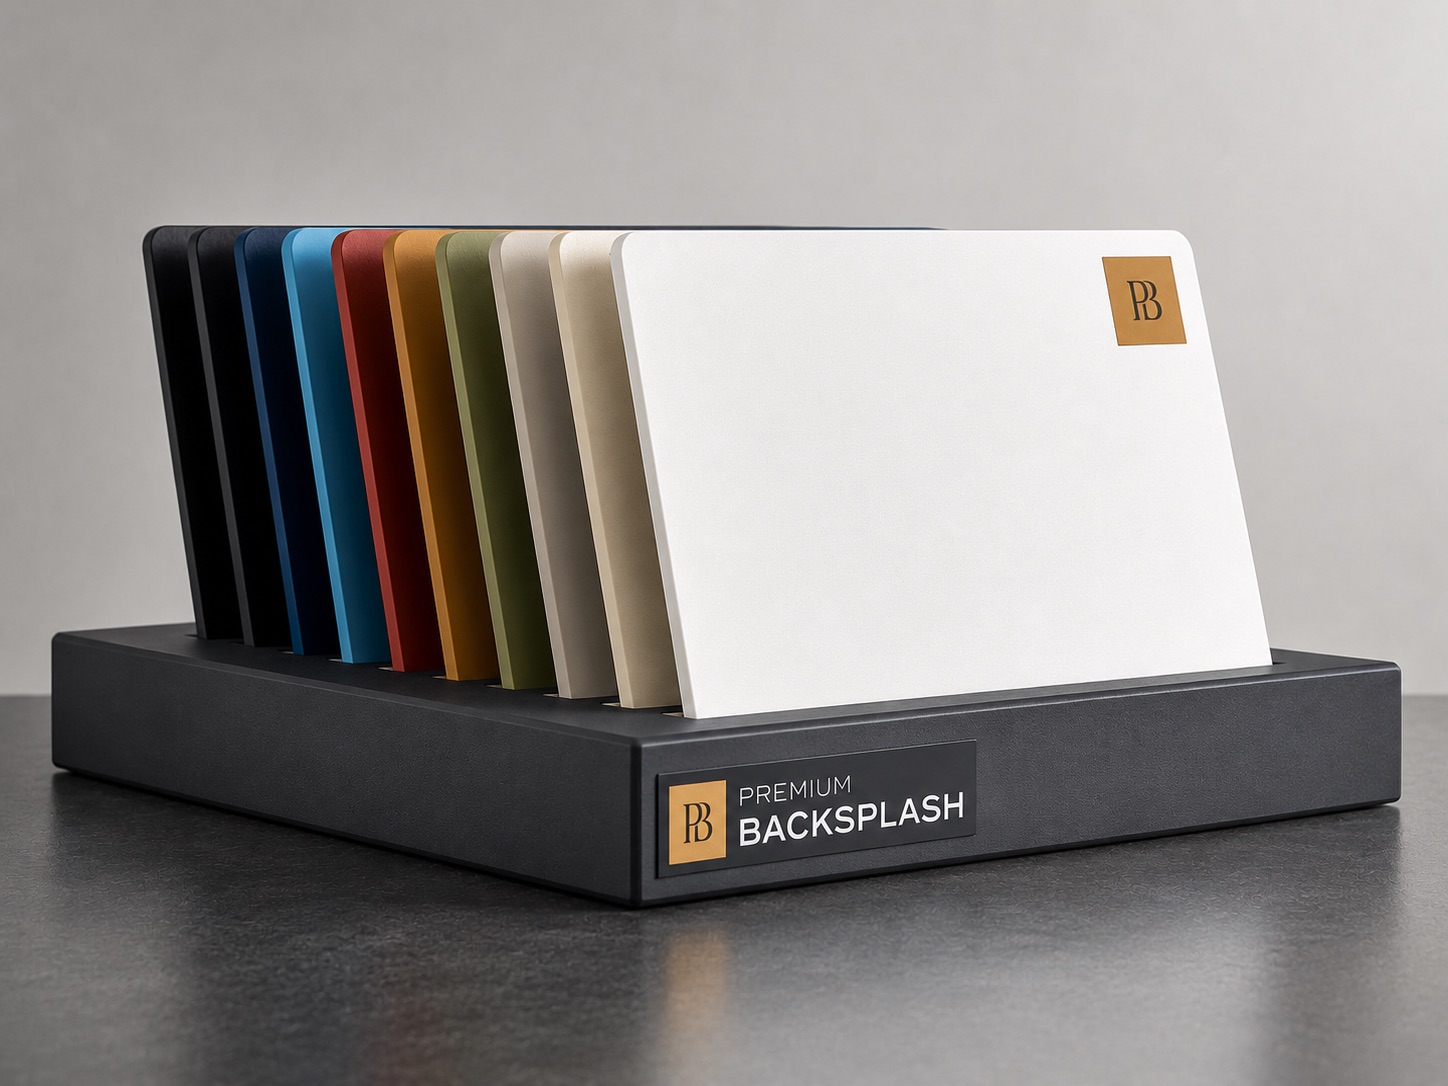
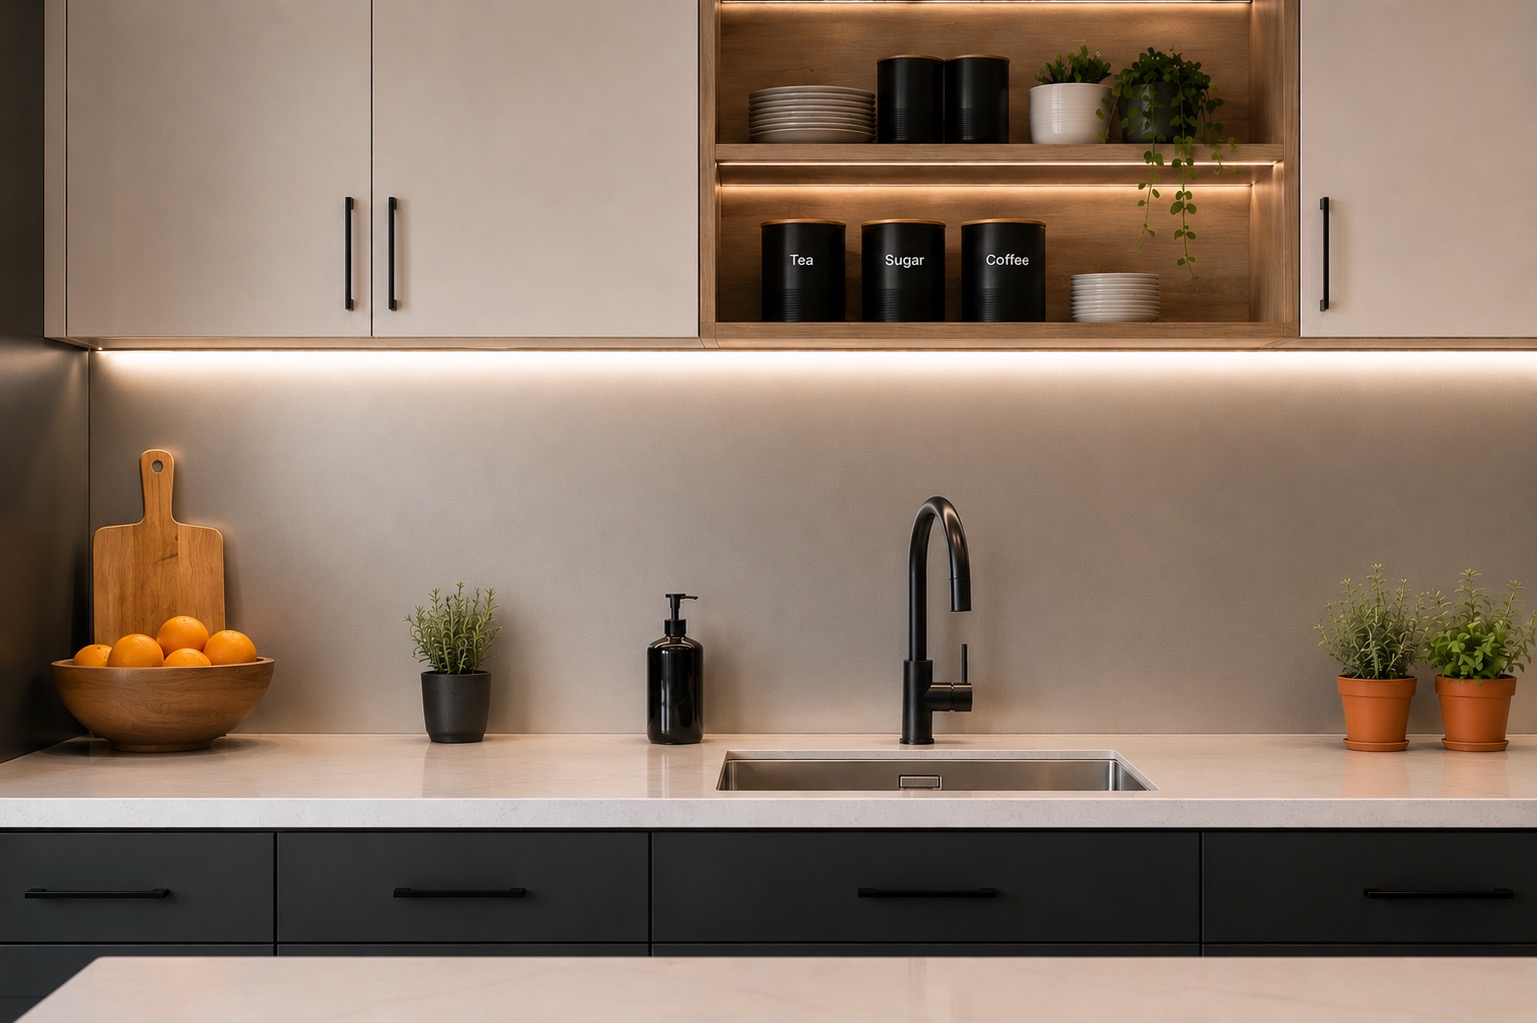
Aluminum panels from brands like Premium Backsplash install with construction adhesive directly over existing surfaces. No mortar, no grout, no wet saw, no curing time. Measure, cut (or order pre-cut), adhere, done. The result is a seamless, heat-resistant, waterproof surface in any color — installed in hours rather than days.
Peel-and-stick tile is the quickest option but sacrifices longevity and heat resistance. Fine for temporary situations; not a long-term solution.
Paint — a few coats of high-quality semi-gloss kitchen paint is the simplest possible backsplash. Not as durable as tile or panels, but infinitely better than bare drywall.
The Bottom Line
Tiling a backsplash is a satisfying DIY project that adds genuine value to your kitchen. If you enjoy hands-on work and don't mind a weekend of careful labor, the result is a durable, attractive surface you built yourself.
But if you're honest with yourself about your skill level, time, and patience — and if the grout maintenance makes you wince — modern alternatives let you achieve a beautiful backsplash without the tile learning curve. The best kitchen project is the one you actually finish and enjoy living with.