Backsplash tile is the most common material used to protect kitchen walls from water, grease, and heat. Walk into any home improvement store and you'll find hundreds of tile backsplash options — ceramic, porcelain, glass, stone, metal, and more. The variety is both a blessing and a source of decision paralysis.
This guide covers every major type of kitchen backsplash tile, what each actually costs (including installation), how to install tile backsplash yourself, and when you might want to skip tile entirely for something better.
Types of Backsplash Tile
Ceramic Tile
The workhorse of backsplash tiles for kitchen use. Ceramic is made from clay fired at lower temperatures than porcelain. It's affordable, widely available, and comes in virtually every color, size, and pattern.
Cost: $1–$15 per square foot
Pros: Cheap, huge variety, easy to cut
Cons: Porous (needs sealing or glazing), chips more easily than porcelain, grout required
Porcelain Tile
Porcelain is denser than ceramic, fired at higher temperatures, and less porous. It handles moisture better and is more durable. Many modern kitchen backsplash tiles are porcelain, especially those mimicking marble or concrete.
Cost: $3–$25 per square foot
Pros: Denser, more water-resistant, durable
Cons: Harder to cut (needs a wet saw), heavier, still requires grout
Glass Tile
Glass backsplash tile reflects light and adds depth to a kitchen. It's non-porous (the tile itself won't stain), comes in brilliant colors, and creates a luminous effect. Mosaic-sized glass tiles are the most popular format.
Cost: $7–$30 per square foot
Pros: Non-porous surface, beautiful light reflection, unique colors
Cons: Expensive, chips easily on impact, transparent backs show imperfections in adhesive, grout still stains
Natural Stone Tile
Marble, slate, travertine, and granite tiles bring natural variation and luxury to a kitchen tile backsplash. Each piece is unique, which creates organic visual interest. Stone is heavy, porous, and requires sealing.
Cost: $10–$50+ per square foot
Pros: Unique natural beauty, high-end look, durable
Cons: Heavy, porous, needs regular sealing, limited color consistency, expensive
Metal Tile
Stainless steel, copper, and aluminum tiles create an industrial or modern aesthetic. They're heat-resistant and water-resistant. Small metal mosaic tiles are common; larger panels are available but technically leave tile territory.
Cost: $8–$35 per square foot
Pros: Heat-resistant, waterproof, modern look
Cons: Shows fingerprints, can dent, limited patterns, grout still needed between individual tiles
Cement (Encaustic) Tile
Handmade cement tiles with pigmented patterns create bold, artisanal backsplashes. Popular in Mediterranean, bohemian, and mid-century kitchens. The patterns go through the full depth of the tile, not just the surface.
Cost: $8–$30 per square foot
Pros: Stunning patterns, artisanal character, patterns don't wear off
Cons: Very porous, must be sealed, heavy, expensive, inconsistent sizing requires careful installation
The True Cost of a Tile Backsplash
Tile cost alone is misleading. Here's what a kitchen backsplash tile project actually costs:
| Item | Cost Range |
|---|---|
| Tile (30 sq ft average kitchen) | $60–$900 |
| Thinset mortar | $15–$30 |
| Grout | $10–$25 |
| Grout sealer | $10–$20 |
| Spacers, trowels, tools | $20–$50 |
| Wet saw rental | $40–$70/day |
| Professional installation | $300–$750 |
| Total (DIY) | $155–$1,095 |
| Total (Professional) | $455–$1,845 |
These numbers don't include ongoing maintenance: re-sealing grout ($30–$50 annually in materials or $150–$300 for professional service) and eventual re-grouting ($300–$600 for professional work).
How to Install Backsplash Tile (DIY)
If you're going the DIY route, here's what the process actually involves:
Tools and Materials Needed
- Tile of your choice + 10% extra for cuts and breakage
- Thinset mortar (modified for your tile type)
- Notched trowel (size depends on tile size)
- Tile spacers
- Wet saw or manual tile cutter
- Level
- Tape measure and pencil
- Grout (sanded for joints >1/8", unsanded for smaller)
- Grout float
- Grout sealer
- Sponge and bucket
- Drop cloths
Step-by-Step Process
1. Prepare the wall. Remove outlet covers. Clean the wall surface. If there's existing tile, you can tile over it if it's in good condition and firmly bonded, but removing old tile gives a better result. The wall should be flat, dry, and primed with a suitable surface.
2. Plan your layout. Measure the backsplash area. Mark a center line and dry-fit tiles from center outward to ensure balanced cuts at edges. Use a level to mark your starting line.
3. Mix and apply thinset. Mix thinset to peanut butter consistency. Apply to a 2–3 square foot section with the flat side of the trowel, then comb with the notched side. Work in small sections — thinset skins over in 15–20 minutes.
4. Set tiles. Press tiles into the thinset with a slight twist. Use spacers between tiles. Check level frequently. Work from the bottom up and from center outward.
5. Make cuts. Edge tiles, corner tiles, and tiles around outlets need cutting. A wet saw handles straight cuts; a tile nipper handles small curves and notches. Measure twice, cut once — especially with expensive tile.
6. Let mortar cure. Wait 24 hours minimum before grouting. Don't disturb the tiles during this time.
7. Apply grout. Mix grout and press it into joints at a 45-degree angle with a grout float. Work in sections. Wipe excess with a damp sponge after 15–20 minutes. Don't use too much water — it weakens the grout.
8. Clean and seal. After grout hazes (30–60 minutes), buff with a dry cloth. Wait 24–72 hours for grout to cure, then apply grout sealer according to product directions.
Total time commitment: 1–2 full days for most kitchen backsplashes, not counting cure time.
The No-Grout Alternative
Every backsplash tile option shares one common weakness: grout. Regardless of whether you choose ceramic, porcelain, glass, or stone, you'll spend time and money maintaining the material between the tiles.
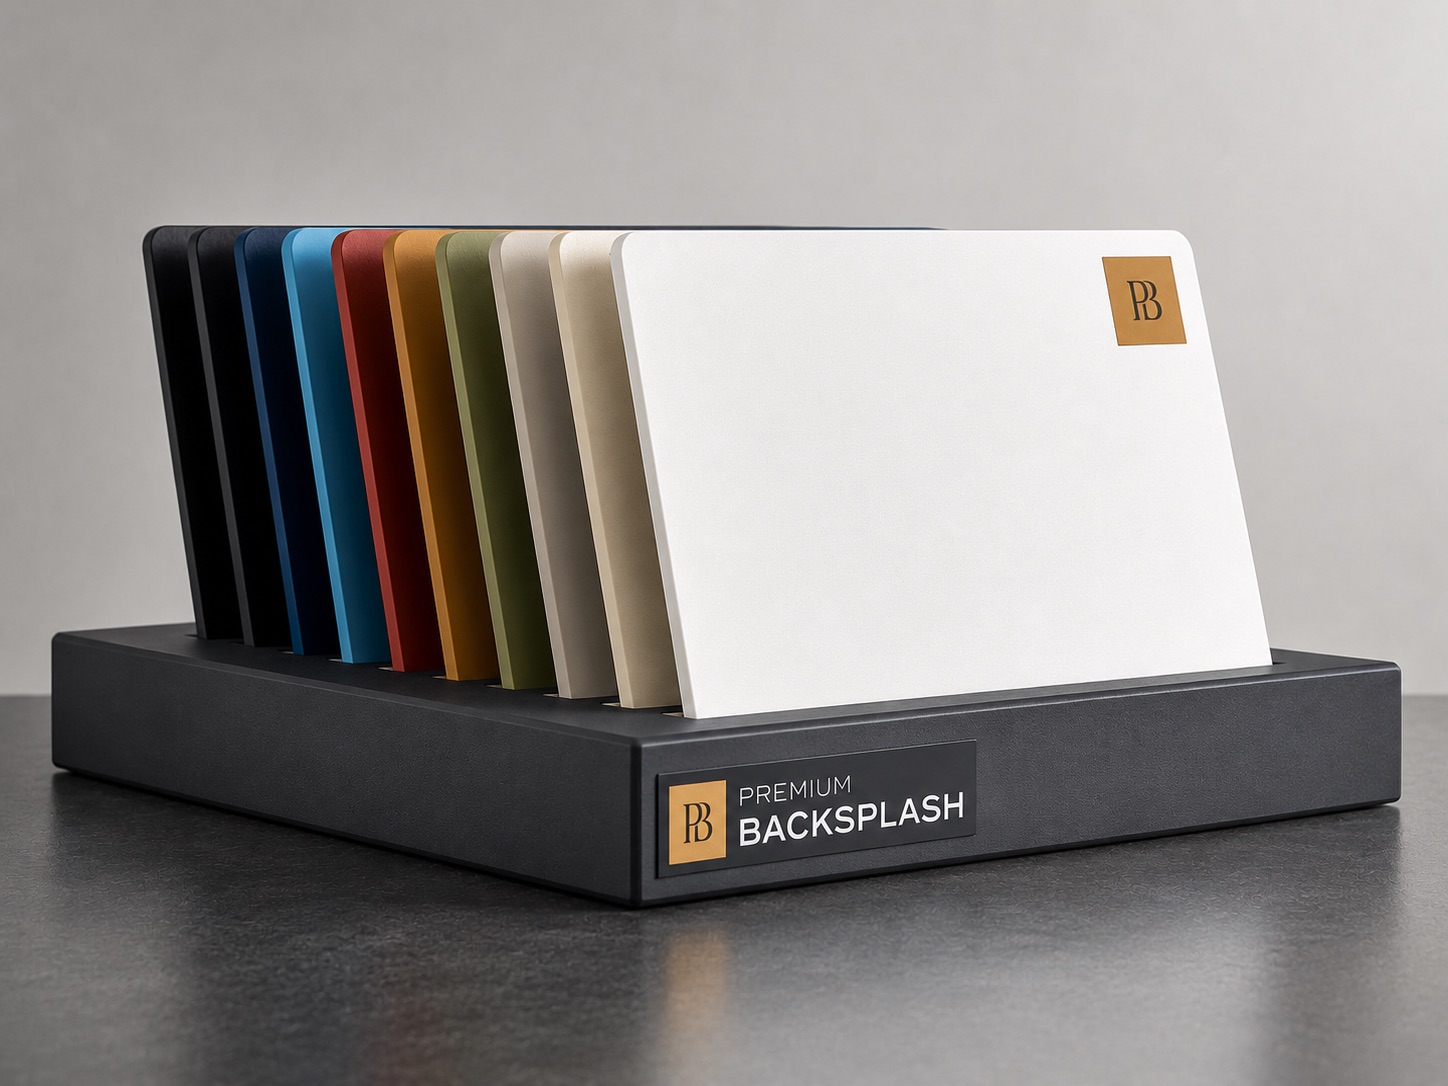
This is why the backsplash market is shifting toward seamless, grout-free options. Aluminum panels, porcelain slabs, and quartz slabs eliminate grout entirely. Among these, custom aluminum panels offer the best balance of cost, ease of installation, and versatility. Brands like Premium Backsplash produce seamless panels in any color, cut to your exact dimensions, that install over existing surfaces without mortar, grout, or specialized tools.
For homeowners who love the look of a clean, uniform backsplash but dread the maintenance reality of tile, grout-free panels are worth serious consideration.
Which Backsplash Tile Is Right for Your Kitchen?
Choose ceramic if budget is your priority and you want the widest style selection.
Choose porcelain if you want better moisture resistance and are willing to pay slightly more.
Choose glass if you want light reflection and unique colors in a well-ventilated kitchen.
Choose natural stone if you want one-of-a-kind natural beauty and don't mind maintenance.
Choose cement tile if bold patterns are your priority and you'll commit to sealing.
Skip tile entirely if you want zero grout maintenance, easy cleaning, and a seamless modern look.
Whatever you choose, understand the full cost — purchase price, installation, and years of maintenance. The best kitchen backsplash tiles are the ones that still make you happy five years after installation.