Accurate measurements are the foundation of every successful backsplash project. Under-order and you're stuck waiting for another shipment (that may not match the original dye lot). Over-order and you've wasted money on material you can't return. This guide covers how to measure for backsplash with precision, how to calculate tile needed, and how to account for cuts, waste, and odd layouts.
How to Measure for Backsplash: The Basics
What You're Measuring
You need the total square footage of wall surface the backsplash will cover. That means measuring every section of wall between the countertop and the upper cabinets (or your chosen height), then subtracting areas you won't tile — windows, range hoods, and large open spaces.
Tools You'll Need
- Measuring tape (25-foot minimum)
- Pencil and paper or a phone for notes
- Calculator
- Level (optional but helpful for checking if walls are square)
Step-by-Step Measuring Process
Step 1: Measure Each Wall Section Separately
Kitchen backsplashes rarely cover one continuous wall. You'll typically have multiple sections:
- Behind the sink
- Between the stove and upper cabinets
- Side walls and return sections
- Below and around windows
Measure each section individually. Record the width (left to right) and height (countertop to upper cabinet bottom or your chosen endpoint) of each section in inches.
Step 2: Calculate Square Footage Per Section
For each section: Width (inches) × Height (inches) ÷ 144 = Square feet
Example: A section that's 48 inches wide and 18 inches tall: 48 × 18 = 864 square inches ÷ 144 = 6 square feet
Step 3: Subtract Openings
Measure any windows, range hoods, or other obstructions within the backsplash area. Calculate their square footage and subtract from the total.
Window example: 36" × 24" window = 864 sq inches ÷ 144 = 6 square feet to subtract
Step 4: Add All Sections Together
Sum the square footage of all individual sections (minus subtractions) for your total backsplash area.
Step 5: Add Waste Factor
This is where people get it wrong. You need extra material for:
- Cuts and breakage: 10% minimum for simple layouts (subway tile, stacked)
- Complex patterns: 15% for herringbone, diagonal, or mosaic layouts
- Fragile materials: 15–20% for glass tile, which breaks more during cutting
- Future repairs: Keep 2–3 extra tiles stored for replacing damaged tiles later
Formula: Total square footage × 1.10 (or 1.15 or 1.20) = Material to order
How Do You Measure for Backsplash Tile Specifically?
If you've chosen your tile, you can calculate exactly how many tiles you need:
- Determine tiles per square foot. For example, a 3×6" subway tile covers 18 square inches. One square foot = 144 square inches. So: 144 ÷ 18 = 8 tiles per square foot.
- Multiply your total square footage by tiles per square foot.
- Add the waste factor in tiles (not square footage — easier to visualize).
Common Tiles Per Square Foot
- 3×6" subway tile: 8 tiles per sq ft
- 4×4" tile: 9 tiles per sq ft
- 4×8" tile: 4.5 tiles per sq ft
- 4×12" tile: 3 tiles per sq ft
- 12×12" mosaic sheet: 1 sheet per sq ft
- 2×2" mosaic: 36 tiles per sq ft (usually sold as sheets)
How to Calculate Backsplash Tile Needed: Real-World Example
Let's walk through a typical kitchen:
Section 1 (behind sink): 60" wide × 18" tall = 1,080 sq in = 7.5 sq ft Section 2 (behind stove): 30" wide × 30" tall (to hood) = 900 sq in = 6.25 sq ft Section 3 (side wall): 36" wide × 18" tall = 648 sq in = 4.5 sq ft Section 4 (beside fridge): 24" wide × 18" tall = 432 sq in = 3 sq ft
Subtotal: 21.25 sq ft Minus window: −3 sq ft Net area: 18.25 sq ft Plus 10% waste: 18.25 × 1.10 = 20.1 sq ft — order 21 sq ft
Using 3×6" subway tile at 8 tiles per sq ft: 21 × 8 = 168 tiles
Measuring Tips for Complex Areas
Behind the Range Hood
Measure from the countertop to the hood bottom for the main area, then measure the hood's width and the backsplash height above the hood (if continuing to the ceiling).
Around Windows
Measure above, below, and on both sides of the window separately. Don't forget the window sill if you're tiling it, and the reveals (the depth of the window opening) if applicable.
Odd Angles and Corners
Kitchens with angled walls or corner sinks need extra attention. Measure at the widest point and plan for more waste — angled cuts generate more scrap.
Uneven Countertops
Measure the height at multiple points along each section. Countertops aren't always level, and the gap between counter and upper cabinets can vary by 1/4" or more across a run. Use the tallest measurement for your order, and plan to custom-cut the bottom row.
How to Measure Backsplash for Seamless Panels
If you're considering seamless aluminum panels instead of tile, the measuring approach is simpler but precision matters more — the panel is custom-manufactured to your exact dimensions.
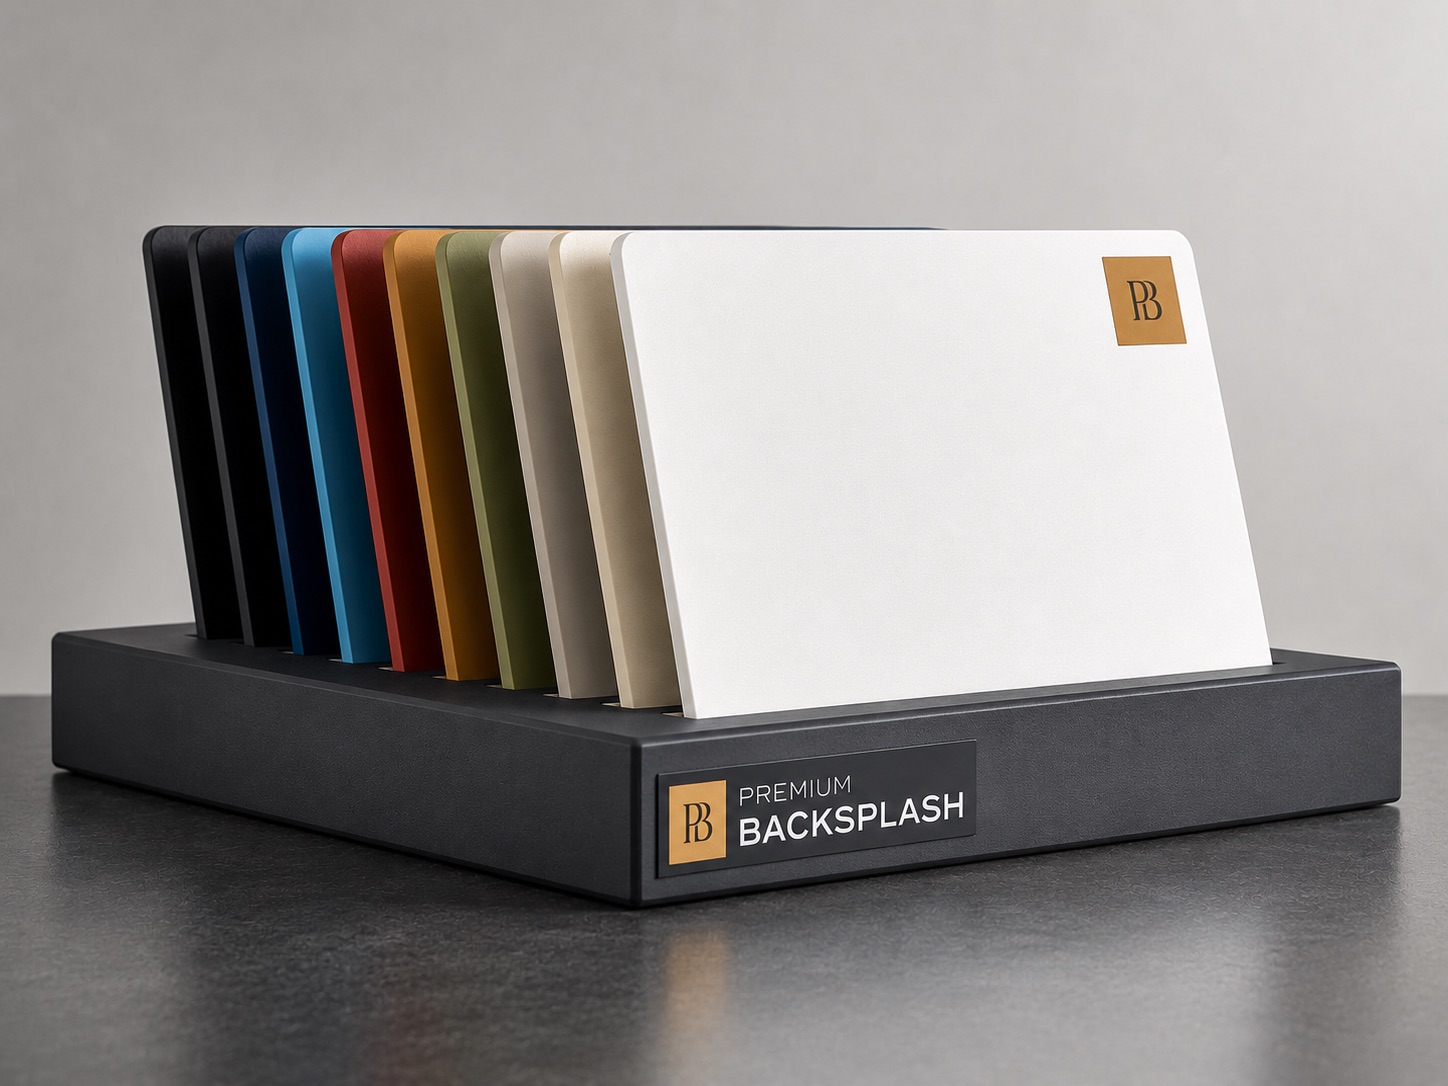
Measure each panel section's width and height. Note the exact location and size of every outlet, switch, and cutout needed. Many panel manufacturers, including Premium Backsplash, provide measuring guides or can connect you with a dealer who measures on-site.
The advantage: no waste factor. A custom-cut panel covers exactly the area you specify, with laser-cut outlet cutouts included. No box of leftover tiles, no broken pieces, no dye-lot matching. You order exactly what you need, and it arrives ready to install.