You want a new backsplash. You don't want to spend a weekend with a hammer and chisel pulling off old tile, patching damaged drywall, and living in a construction zone for days. You're not alone — demolition is the number one reason homeowners delay kitchen backsplash upgrades.
The good news: you don't have to remove your existing tile. Several backsplash materials can install directly over it. Here's how it works, what your options are, and what to watch out for.
Why Demolition Is the Biggest Barrier
Removing an existing tile backsplash is genuinely unpleasant:
- Dust and debris spread through the kitchen and adjacent rooms, even with plastic sheeting
- Drywall damage is almost guaranteed — tiles are bonded with thinset or mastic that pulls the paper face off drywall when removed
- Hidden problems emerge: water damage, mold, deteriorated backing that needs replacement
- Timeline extends from "a weekend project" to potentially a week or more
- Cost for demolition and wall repair can run $500–$1,500 before you even install the new backsplash
For many homeowners, the demolition cost and disruption exceeds the cost of the new backsplash material itself. That's why installing over existing tile is such an appealing alternative.
Can You Really Install Over Existing Tile?
Yes — with the right material and preparation. The key requirements are:
The Existing Tile Must Be Stable
If tiles are loose, cracked, or falling off the wall, they're not a reliable substrate. Press on each tile and check for movement or hollow sounds. A few cracked tiles are usually fine as long as they're still firmly bonded. Large areas of loose tile should be addressed before covering.
The Surface Must Be Clean
Grease, soap residue, and cooking film need to be cleaned off. A degreaser and thorough wipe-down is sufficient. The adhesive needs to bond to the tile surface, and residue interferes with adhesion.
You Need to Account for Added Thickness
Installing over tile adds approximately 1/8" to 1/4" of thickness, depending on the material. This matters at:
- Outlets and switches — you may need box extenders to bring them flush with the new surface
- Countertop edge — the new material will sit slightly proud of the existing tile edge
- Cabinet edges — trim pieces may be needed where the backsplash meets cabinets
The Material Must Be Lightweight
Heavy materials like stone slabs or thick porcelain can overload the existing tile's bond to the wall. Lightweight materials like aluminum panels are ideal because they add minimal weight.
Materials That Work Over Existing Tile
Aluminum Backsplash Panels
Aluminum panels are arguably the best material for installing over existing tile. Here's why:
- Lightweight. Aluminum panels weigh a fraction of what tile or stone weighs. They don't stress the existing tile bond.
- Custom-cut to fit. Panels are measured and cut to your exact dimensions before delivery, including cutouts for outlets, switches, and corners. No field cutting required.
- Construction adhesive installation. Panels bond directly to the tile surface with high-strength construction adhesive. The adhesive grips tile surfaces extremely well.
- Seamless coverage. A single panel can span up to 20 feet, covering the entire backsplash without joints or seams. The old tile underneath is completely hidden.
- No special tools. Installation requires construction adhesive, a level, and basic hand tools. No tile saw, no grout, no specialized equipment.
The installation process is straightforward:
- Clean the existing tile surface thoroughly
- Apply construction adhesive to the back of the aluminum panel
- Position the panel on the wall, using a level to ensure alignment
- Press firmly and allow the adhesive to cure
Most kitchen backsplashes can be covered in a few hours. The old tile stays on the wall, doing exactly what it's always done — and you never see it again.
Peel-and-Stick Panels
Vinyl and composite peel-and-stick panels can also go over tile, but with caveats:
- Adhesive may not bond well to textured or uneven tile surfaces
- Heat from stoves can cause adhesive failure
- Seams between panels are visible
- Lifespan is significantly shorter (2–5 years)
Peel-and-stick is a viable temporary solution, especially for renters, but it's not a long-term upgrade.
Thin Stone Veneer
Some ultra-thin stone veneers (1–2mm thick) can be applied over tile with adhesive. They provide a real stone look but are more fragile than metal panels and more difficult to cut for outlets.
What Doesn't Work Over Existing Tile
New Tile Over Old Tile
While technically possible, tiling over tile creates problems: excessive thickness, weight concerns, adhesion issues, and grout line alignment. Most tile installers advise against it, and building codes in some areas prohibit it.
Heavy Slabs
Natural stone slabs, thick porcelain panels, and similar heavy materials are too heavy to reliably bond over existing tile. The weight can pull the original tile off the wall over time.
Step-by-Step: Installing Aluminum Panels Over Tile
Here's a detailed walkthrough for the most common approach:
Step 1: Measure
Measure the full backsplash area, including the location of every outlet, switch, and corner. Note the height from countertop to upper cabinets (or desired backsplash height) at multiple points — walls aren't always perfectly straight.
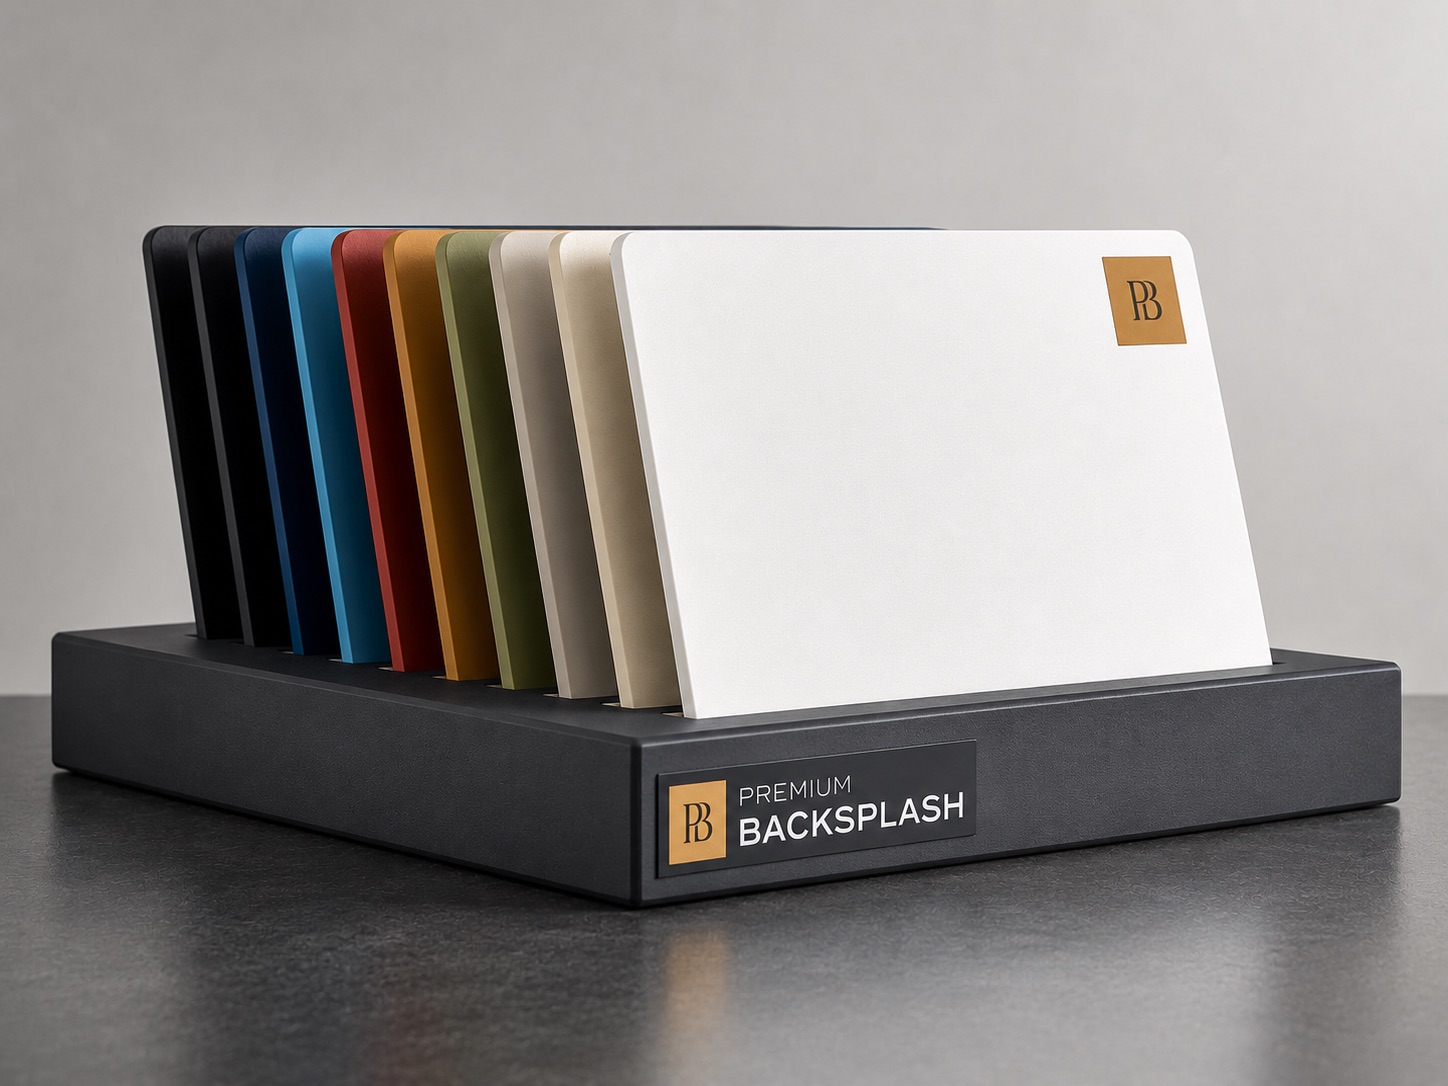
Step 2: Order Custom Panels
Provide your measurements to the panel manufacturer. Companies like Premium Backsplash laser-cut each panel to your exact specifications, including outlet cutouts and corner returns. This precision means no field adjustments.
Step 3: Prepare the Surface
Clean the existing tile with a degreaser. Remove any loose grout. If tiles have a heavy texture, lightly sand the high points to improve adhesive contact. The surface doesn't need to be perfectly smooth — construction adhesive fills minor variations.
Step 4: Dry Fit
Hold the panel against the wall to verify fit before applying adhesive. Check that outlet cutouts align and that edges meet countertops and cabinets cleanly.
Step 5: Apply Adhesive and Install
Apply construction adhesive to the back of the panel in a serpentine pattern. Press the panel firmly against the tile, starting from one end and working across to eliminate air pockets. Use painter's tape to hold the panel in place while the adhesive cures (typically 24 hours for full strength).
Step 6: Finish Edges
Install edge trim where the panel meets countertops, cabinets, or exposed wall. If outlet extenders are needed, install them before replacing cover plates. Color-matched outlet covers (available through Premium Backsplash's partnership with Jung) complete the seamless look.
The Bottom Line
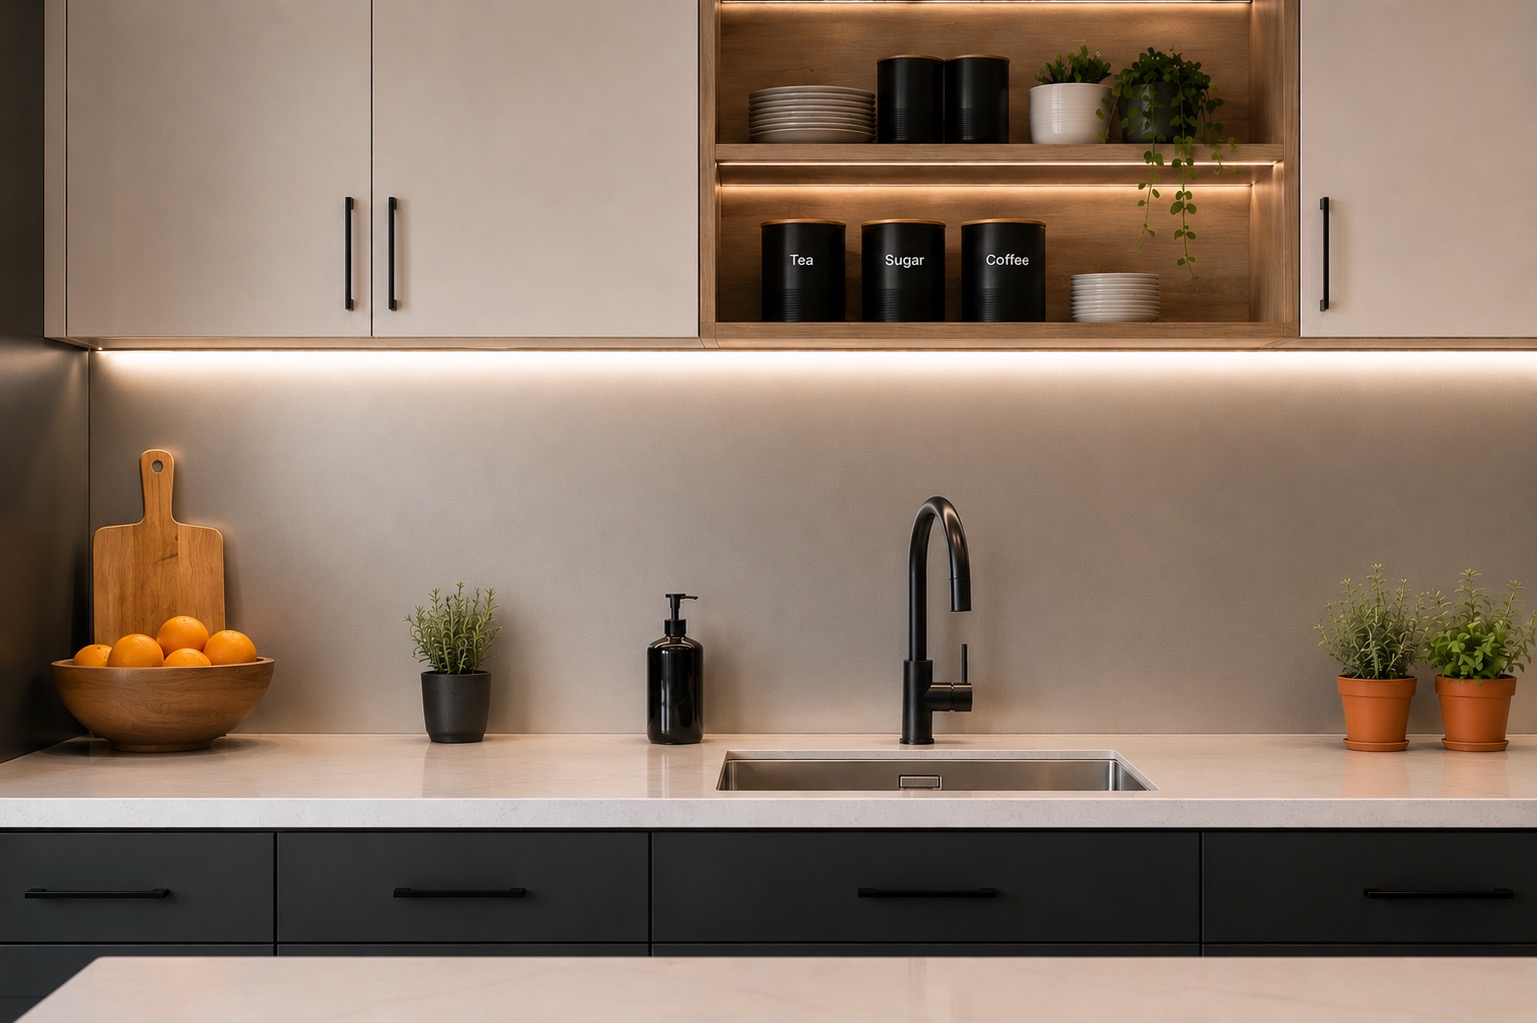
Installing a backsplash over existing tile saves demolition costs, eliminates drywall repair, reduces project time from days to hours, and avoids the mess and disruption that keeps homeowners from upgrading. Aluminum panels are purpose-built for this approach — lightweight, custom-cut, and designed to bond directly to tile surfaces.
Skip the Demo, Upgrade Your Kitchen
Premium Backsplash aluminum panels install directly over your existing tile with no demolition required. Custom-cut to your exact measurements with laser precision. Get a free consultation to see how simple your backsplash upgrade can be.