Caulking is the final detail that separates a professional-looking backsplash from a DIY project that screams "weekend warrior." It seals the joints where the backsplash meets the countertop, cabinets, and other surfaces — joints that grout can't handle because they need flexibility. This guide covers where to caulk, what to use, and how to get a clean line every time.
Where to Caulk (Not Grout) on a Backsplash
A common mistake is grouting every joint. Some joints need caulk instead of grout because they're transition points between different materials that expand, contract, and move independently.
Always caulk these joints:
- Backsplash to countertop — the countertop and wall move differently. Grout here cracks within months.
- Backsplash to upper cabinets — same principle. Different materials, different movement.
- Inside corners — where two walls meet, they flex independently. Caulk absorbs the movement; grout doesn't.
- Around plumbing fixtures — where pipes or faucets penetrate the backsplash.
- Around window frames — where the backsplash meets wood or vinyl window casing.
Grout these joints:
- Between tiles on the same flat surface (the main field of your backsplash)
The rule: if both surfaces are the same material on the same plane, grout. If they're different materials or on different planes, caulk.
Choosing the Right Caulk
Not all caulk works in kitchens. You need a product that handles moisture, heat, and food-contact areas.
100% Silicone Caulk
- Best overall choice for kitchen backsplash
- Waterproof, flexible, mold-resistant
- Handles temperature changes without cracking
- Available in multiple colors including clear
- Harder to apply smoothly (requires practice)
- Must be removed mechanically — can't be painted over
Siliconized Latex Caulk (Acrylic-Silicone)
- Easier to apply and smooth than pure silicone
- Paintable
- Less flexible and less waterproof than pure silicone
- Adequate for most backsplash joints except directly behind the sink
Kitchen & Bath Caulk
- Formulated with mildewcide to resist mold
- Usually silicone or siliconized latex
- Good middle-ground option for all backsplash joints
- Available in sanded versions that match grout texture
Color-Matched Caulk
- Available from grout manufacturers (Mapei, Custom Building Products, Laticrete) in colors that match their grout lines
- Essential for visible joints where white caulk would stand out against colored grout
How to Caulk Backsplash: Step by Step
Step 1: Prepare the Joint
Clean the joint thoroughly. Remove any old caulk, loose grout, or debris. Use a utility knife or caulk removal tool. Wipe with rubbing alcohol and let dry completely. Caulk won't adhere to dirty or wet surfaces.
Step 2: Tape for Clean Lines
Apply painter's tape along both sides of the joint, leaving only the gap exposed. This is the most important step for a clean result — freehand caulking almost never looks professional.
Step 3: Cut the Caulk Tube
Cut the nozzle tip at a 45-degree angle. Start with a small opening — you can always cut more off, but you can't add it back. The opening should be slightly smaller than the joint width.
Step 4: Apply Caulk
Hold the caulk gun at 45 degrees to the joint. Apply steady pressure on the trigger while moving at a consistent speed. Fill the joint completely in one continuous bead. Don't stop and start — this creates bumps.
Tip: Push the caulk into the joint rather than pulling (dragging) it. Pushing forces caulk into the gap; pulling leaves voids behind.
Step 5: Tool the Joint
Immediately after applying, smooth the caulk with a wet finger, a caulk finishing tool, or a damp ice cube (yes, really — ice cubes create remarkably smooth caulk lines). Run along the joint in one continuous motion.
Step 6: Remove Tape
Pull the painter's tape while the caulk is still wet. Pull at a 45-degree angle away from the joint. Waiting until the caulk skins over will tear the caulk line.
Step 7: Let It Cure
Silicone caulk skins over in 30–60 minutes but takes 24 hours to fully cure. Avoid running water on the joint or touching it during this time.
Common Caulking Mistakes
- Cutting the nozzle too large — creates a fat, messy bead that's hard to smooth
- Not using tape — freehand caulking looks sloppy 90% of the time
- Applying too much — a thin, consistent bead is stronger and cleaner than a thick glob
- Caulking over old caulk — new caulk won't bond properly to old caulk. Remove the old first.
- Using the wrong color — white caulk against colored tile or grout is always visible. Match the caulk to the grout.
- Removing tape after caulk dries — tears the caulk and creates ragged edges
When to Recaulk
Kitchen backsplash caulk should be inspected annually and replaced when you notice:
- Cracks or gaps in the caulk line
- Mold or discoloration (especially behind the sink)
- Peeling or separation from either surface
- Hardening or loss of flexibility
Most kitchen caulk joints need replacement every 3–5 years. Silicone lasts longer; latex caulk degrades faster.
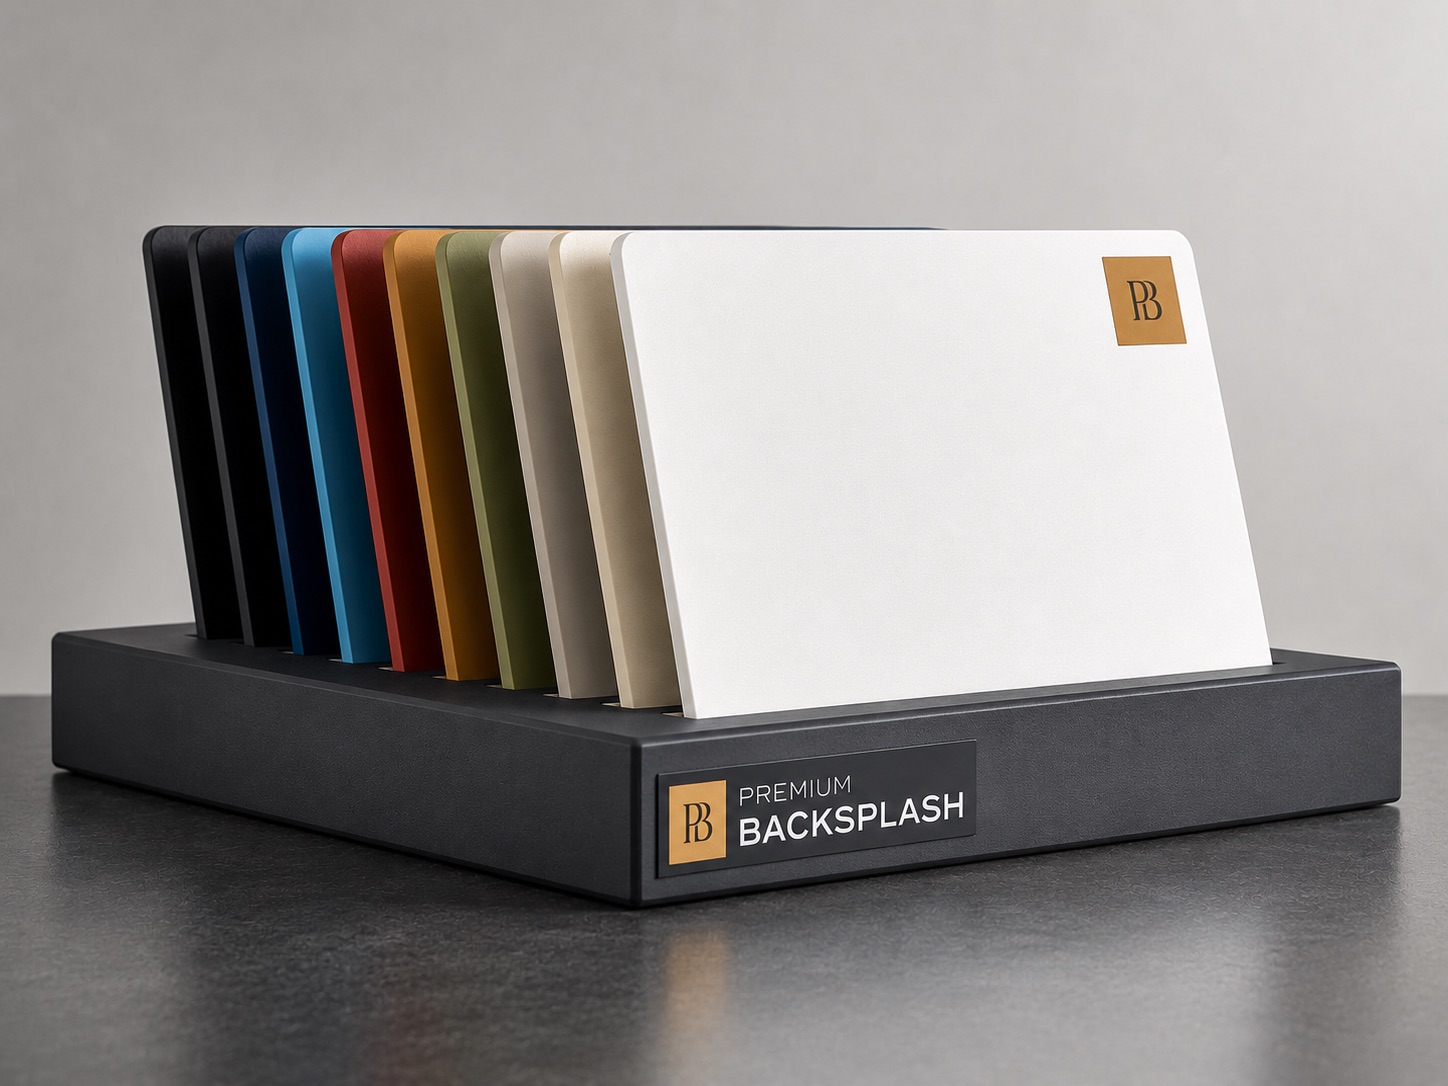
The Caulk-Free Alternative
With traditional tile backsplash, caulking is essential at every transition point — and it's a joint that needs periodic replacement. Seamless aluminum backsplash panels from Premium Backsplash reduce the caulking requirement to a single bead where the panel meets the countertop. No inside corners to caulk, no cabinet-to-tile joints, no grout-to-caulk transitions. One panel, one joint, done. It's a small detail that adds up to significantly less maintenance over the life of your kitchen.