Grouting is the step that turns individual tiles into a finished backsplash — and it's where many DIY projects go sideways. Poor grouting shows immediately: uneven joints, crumbling lines, stained surfaces, and messy edges. Done well, it's invisible. Done poorly, it's all you see.
This guide covers how to grout backsplash tile from preparation through sealing, with the techniques that separate clean results from amateur ones.
Choosing the Right Grout
Before you open a bag or bucket, you need the right product for your tile and joint width.
Sanded Grout
- Use for joints wider than 1/8"
- Contains fine sand that prevents the grout from shrinking and cracking in wider gaps
- Rougher texture — not ideal for polished or glass tile (can scratch)
- More durable for kitchen environments
Unsanded Grout
- Use for joints 1/8" or narrower
- Smooth texture, easier to work into thin joints
- Won't scratch glass, polished stone, or metallic tiles
- Less durable in wet areas than sanded grout
Epoxy Grout
- Use for zero-maintenance results
- Waterproof, stain-proof, and doesn't require sealing
- Significantly harder to apply — sets fast and is difficult to clean once dried
- More expensive ($8–$15 per pound vs. $1–$3 for cement-based)
- Best for homeowners who want permanent protection but have grouting experience
Pre-Mixed vs. Powder
Pre-mixed grout is convenient but limited in color options and slightly weaker than properly mixed powder grout. For a kitchen backsplash, either works — just don't add extra water to pre-mixed grout.
How to Apply Grout to Backsplash: Step by Step
Step 1: Verify Your Tiles Are Ready
Mortar must be fully cured — minimum 24 hours after setting tiles. Remove all tile spacers. Clean any mortar that squeezed up between tiles with a utility knife or grout removal tool. Every joint must be clean and free of debris for grout to adhere.
Step 2: Mix the Grout
For powder grout, follow the manufacturer's water ratio exactly. Mix to the consistency of smooth peanut butter — no lumps, no puddles. Let it slake (rest) for 5–10 minutes, then remix briefly. Do not add more water after slaking.
Mix only what you can use in 30–45 minutes. Grout that sits too long in the bucket becomes unworkable.
Step 3: Load the Float
Scoop grout onto a rubber grout float. Hold the float at 45 degrees to the wall and spread grout diagonally across the tiles, pressing it firmly into every joint. Work in 3–4 square foot sections.
Why diagonal? Spreading parallel to grout lines pulls grout out of the joints instead of packing it in.
Step 4: Pack the Joints
Make multiple passes over each section, changing angles to ensure grout fills the full depth of every joint. Joints that are partially filled will crack and crumble within months.
Step 5: Scrape Excess
Hold the float at a steeper angle (nearly 90 degrees) and scrape excess grout off the tile surface. Work diagonally again. The goal is to leave grout only in the joints, with minimal residue on the tile faces.
Step 6: Initial Cleanup (15–20 Minutes)
Once the grout begins to firm up (press a finger into a joint — it should hold its shape), begin wiping with a damp sponge. Key techniques:
- Wring the sponge thoroughly — excess water weakens grout and causes color inconsistency
- Wipe diagonally across joints, never parallel
- Rinse the sponge after every pass in clean water
- Don't over-wipe — one or two passes per area. Excessive wiping erodes the grout.
Step 7: Final Haze Removal
After 1–2 hours, a chalky haze will appear on the tile surfaces. Buff this off with a clean, dry microfiber cloth or cheesecloth. For stubborn haze, use a commercial grout haze remover — but test on an inconspicuous tile first.
Step 8: Seal the Grout
Wait 48–72 hours for full curing. Apply a penetrating grout sealer with a small brush or applicator bottle, covering every grout line. Wipe excess sealer off tile surfaces immediately. Most sealers need reapplication every 1–2 years.
Note: Epoxy grout does not require sealing.
How to Grout a Backsplash: Common Mistakes
- Adding too much water — weakens the grout and causes color variation
- Working too large an area — grout dries before you can clean it
- Wiping too soon — pulls grout out of joints
- Wiping too late — grout hardens on tile faces and requires chemical removal
- Skipping the sealer — unsealed cement grout stains permanently within weeks
- Using the wrong grout type — sanded grout in narrow joints won't pack properly; unsanded in wide joints cracks
The Ongoing Grout Commitment
Grouting isn't a one-time task. Kitchen backsplash grout requires:
- Sealing every 1–2 years
- Deep cleaning 2–4 times per year (baking soda paste, steam, or commercial cleaner)
- Spot repair when cracks develop (typically at inside corners and the countertop joint)
- Full regrouting every 10–15 years
Over a 20-year kitchen lifespan, grout maintenance adds real cost and effort.
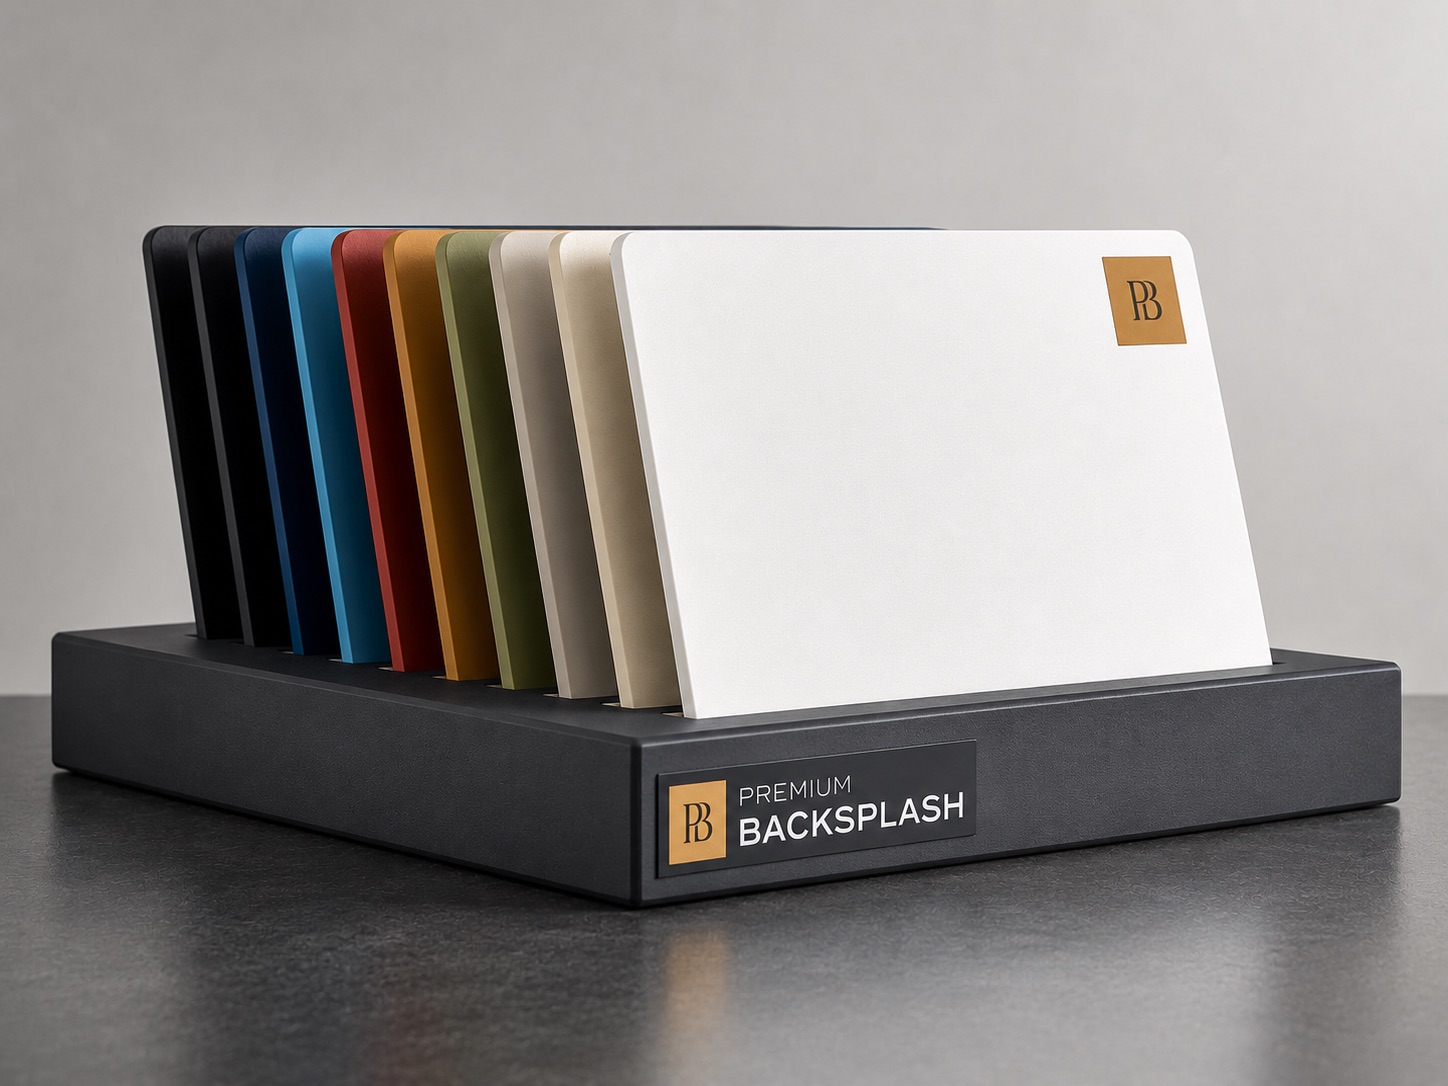
Or Skip Grouting Entirely
If this grouting guide convinced you that you'd rather not deal with grout at all, you're not alone. Seamless backsplash materials eliminate grouting from the equation. Premium Backsplash aluminum panels create a single, continuous surface with no joints, no grout lines, and no sealing schedule. It's one of the strongest arguments for choosing a seamless panel over traditional tile — especially in a kitchen where cooking grease and moisture constantly challenge grout integrity.