Mosaic tile backsplashes offer visual complexity that larger-format tiles can't match. The small individual pieces — typically 1 to 2 inches — create intricate patterns, color blends, and texture that make a backsplash feel custom. The good news: most mosaic tiles come pre-mounted on mesh sheets or interlocking mats, which makes installation faster than setting each piece individually.
Here's how to install mosaic tile backsplash properly, whether you're working with mesh-backed sheets, interlocking tiles, or individual mosaics.
Understanding Mosaic Tile Formats
Mesh-Mounted Sheets
The most common format. Small tiles are adhered to a fiberglass mesh backing in 12x12" or 12x13" sheets. You set the entire sheet at once, and the mesh dissolves or stays embedded in the mortar. This is how to install backsplash tile sheets efficiently — one sheet covers roughly one square foot.
Interlocking Tile Sheets
These feature tiles with built-in interlocking edges — the sheets are designed to fit together seamlessly without visible joints between sheets. How to install interlocking backsplash tile is similar to mesh-mounted, but alignment is even more critical since the interlocking pattern must continue across sheets.
Paper-Faced Sheets
Less common today, these have paper adhered to the front face of the tiles. You set them face-down into mortar, then soak and peel the paper after the mortar cures. This method is fading in popularity because it's messier and harder to align.
How to Install Mosaic Tile Backsplash: Step by Step
Tools You'll Need
- Modified thin-set mortar (white for glass or light-colored mosaics)
- 1/4" x 1/4" V-notch trowel
- Rubber grout float
- Tile nippers and/or wet saw with glass blade
- Level and measuring tape
- Spacers (usually 1/16" between sheets)
- Sponge and bucket
Step 1: Prepare the Wall
Clean the wall surface. Remove outlet covers and kill the power. If you're working over painted drywall, sand lightly for grip. For glass mosaic tiles, use white thin-set — gray mortar shows through translucent glass and muddies the color.
Step 2: Dry-Fit Your Layout
Hold sheets against the wall to plan placement. Start from the center and work outward. Pay close attention to where sheets meet — the spacing between tiles within a sheet should match the spacing between sheets. If sheets have a directional pattern, mark arrows on the back so you don't accidentally rotate one.
Step 3: Apply Mortar
Spread thin-set on 2–3 square feet at a time (mosaic sheets are slower to set than large tiles). Use the flat edge first, then comb with the notched edge. For mosaic sheets, keep the mortar ridges smaller — a 1/4" V-notch trowel works well. Too much mortar squeezes up between the small tiles and creates a mess.
Step 4: Set the Sheets
Press each sheet into the mortar firmly and evenly. Use a grout float or a flat piece of wood to apply even pressure across the entire sheet — your fingers will press harder in some spots than others, creating an uneven surface. Work from the center of the sheet outward to push air bubbles to the edges.
Step 5: Align Sheet Joints
This is where mosaic installations succeed or fail. The gap between sheets must exactly match the gap between individual tiles within the sheet. Use spacers if needed, and step back frequently to check alignment from a distance. Misaligned sheets create visible seams that no amount of grout will hide.
Step 6: Cutting Mosaic Sheets
- Cutting the mesh between tiles: Use scissors to separate tiles from the sheet for fitting around edges and outlets
- Cutting individual tiles: Tile nippers work for ceramic and stone mosaics. For glass, use a wet saw with a glass-cutting blade — nippers shatter glass tiles unpredictably
- Outlet cutouts: Separate the tiles around the outlet area from the mesh, set the surrounding tiles individually, and cut pieces to fit
Step 7: Grouting
Wait 24 hours. Mosaic backsplashes have significantly more grout surface area than large-format tile — a 30-square-foot mosaic backsplash can have 300+ linear feet of grout lines. Use unsanded grout for the narrow joints typical of mosaics (under 1/8").
Apply grout generously with a rubber float, working it into every gap. Wipe diagonally with a damp sponge. For glass mosaics, clean quickly — dried grout is very difficult to remove from glass surfaces.
Common Mistakes with Mosaic Tile Installation
- Using gray mortar with glass tile — it shows through and dulls the color
- Applying too much mortar — it squeezes between small tiles and is tedious to clean
- Inconsistent sheet alignment — creates visible grid lines where sheets meet
- Not pressing evenly — results in lippage (tiles sitting at different heights)
- Rushing the grout cleanup — dried grout haze on mosaics is a nightmare to remove
The Maintenance Reality
Mosaic tiles are beautiful, but they come with the highest grout-to-tile ratio of any backsplash format. More grout means more staining, more sealing, and more scrubbing over the life of the backsplash. A 30-square-foot mosaic backsplash might require annual grout sealing and regular deep cleaning to maintain its appearance.
Consider a Low-Maintenance Alternative
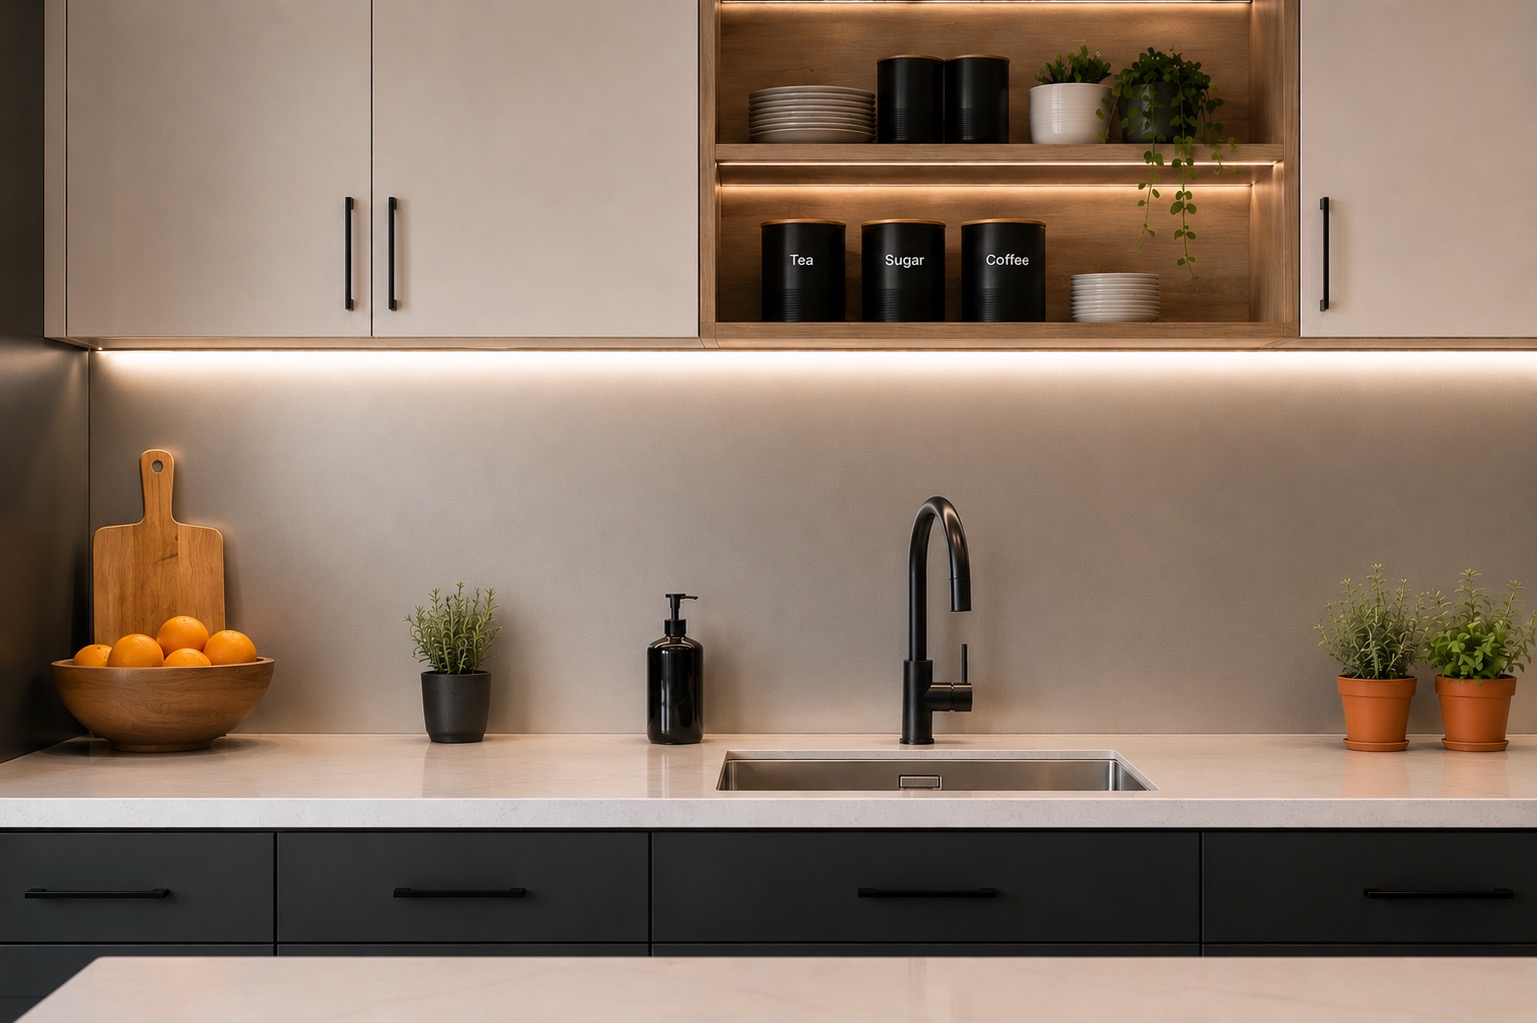
If you're drawn to the seamless look but not the grout commitment, aluminum backsplash panels from Premium Backsplash deliver a continuous, grout-free surface in any color — including metallic finishes that capture some of the visual interest of mosaic tile without any of the maintenance. Custom-cut to your kitchen's exact dimensions, they install in a fraction of the time and never need resealing.