Subway tile has been a kitchen staple since the early 1900s, when it lined the walls of the New York City subway system. More than a century later, it's still one of the most popular backsplash choices — and for good reason. The clean lines, versatile patterns, and wide availability make it approachable for both DIYers and professionals.
This guide covers everything from choosing the right subway tile size to installing it properly on your kitchen walls.
What Is Subway Tile Backsplash?
Subway tile is a rectangular tile, traditionally measuring 3 inches by 6 inches, with a 1:2 width-to-length ratio. It's typically ceramic or porcelain with a glossy or matte finish. The defining characteristic is the shape and the running bond pattern — each row is offset by half a tile, creating the staggered brick-like layout most people associate with subway tile.
Modern subway tile has expanded well beyond the classic white ceramic. You'll now find subway tiles in:
- Glass — reflective, modern, available in dozens of colors
- Porcelain — denser and more water-resistant than ceramic
- Natural stone — marble, travertine, and slate versions exist
- Handmade/artisan — slightly irregular edges for a craftsman look
What Size Subway Tile for Kitchen Backsplash?
The classic 3x6 inch tile remains the most popular, but it's not your only option:
3x6 Inches (Classic)
The standard. Works in virtually any kitchen, scales well in small and large spaces. This is the safe, timeless choice. Expect roughly 8 tiles per square foot.
4x8 Inches
A slightly larger format that reduces the number of grout lines and gives a more modern, scaled-up look. Works best in kitchens with higher ceilings or larger wall expanses.
2x4 Inches
A miniature version that creates a busier pattern. Popular for accent strips or smaller backsplash areas. More grout lines mean more maintenance.
4x12 or 4x16 Inches (Elongated)
The contemporary favorite. Long, lean proportions create a dramatic horizontal emphasis. Fewer grout lines, more visual impact. This format works especially well in modern and minimalist kitchens.
Rule of thumb: Larger tiles create a cleaner, more modern look with less grout maintenance. Smaller tiles offer more texture and pattern interest but require more upkeep.
How to Install Subway Tile Backsplash
Layout Patterns
Before you start setting tiles, decide on your pattern:
- Running bond (classic offset): Each row offset by half a tile. The most traditional and forgiving of slight imperfections.
- Stack bond (straight stack): Tiles aligned in a grid. Modern and clean, but demands precision — any misalignment is immediately visible.
- Herringbone: Tiles set at 45-degree angles in a V pattern. Dramatic but requires more cuts and more skill.
- Vertical stack: Tiles set vertically instead of horizontally. A trending choice that draws the eye upward.
Step-by-Step Installation
1. Prep your wall. Clean thoroughly, sand glossy paint, and ensure drywall is solid. Remove outlet covers and cut power to the circuit.
2. Find your center line. Snap a vertical line at the center of your primary wall. This ensures symmetry — cut tiles will be equal on both sides.
3. Set a ledger board. Temporarily screw a straight, level board to the wall at the height of your second row. The first row (sitting on the counter) gets installed last to allow for custom cuts that follow the countertop's contour.
4. Apply thin-set mortar. Spread modified thin-set with a 1/4" x 1/4" V-notch trowel. Work in 3–4 square foot sections.
5. Set tiles from center outward. Press firmly with a slight twist. Use 1/16" spacers for a tight, modern look or 1/8" spacers for a more traditional grout line. Check level every few tiles.
6. Cut as needed. Most subway tile cuts are simple straight cuts — a manual tile cutter handles these quickly. For outlet cutouts, use a wet saw and nippers.
7. Remove the ledger board after mortar cures (24 hours). Install the bottom row, cutting tiles to fit the counter contour.
8. Grout. Use unsanded grout for joints 1/8" or smaller, sanded grout for larger joints. Apply with a rubber float at 45 degrees. Clean with a damp sponge after 15 minutes.
9. Seal the grout after 48–72 hours. Apply silicone caulk at the countertop-to-backsplash joint.
Common Mistakes with Subway Tile
- Inconsistent spacing — even 1/32" variation is visible across a wall of identical rectangles
- Not using enough mortar — subway tiles are light, so people skimp. Full coverage prevents hollow spots.
- Forgetting about grout color — white grout shows every stain; consider light gray or a color-matched option
- Stack bond without checking level obsessively — this pattern hides nothing
The Grout Problem
Here's the reality that subway tile enthusiasts don't love discussing: a standard 3x6 subway tile backsplash on a 30-square-foot wall has approximately 120 linear feet of grout lines. That's 120 feet of porous material that absorbs grease, moisture, and staining compounds from cooking.
Even with sealer, grout requires re-sealing every 1–2 years and periodic deep cleaning. Over a 10-year span, maintaining those grout lines costs real time and money.
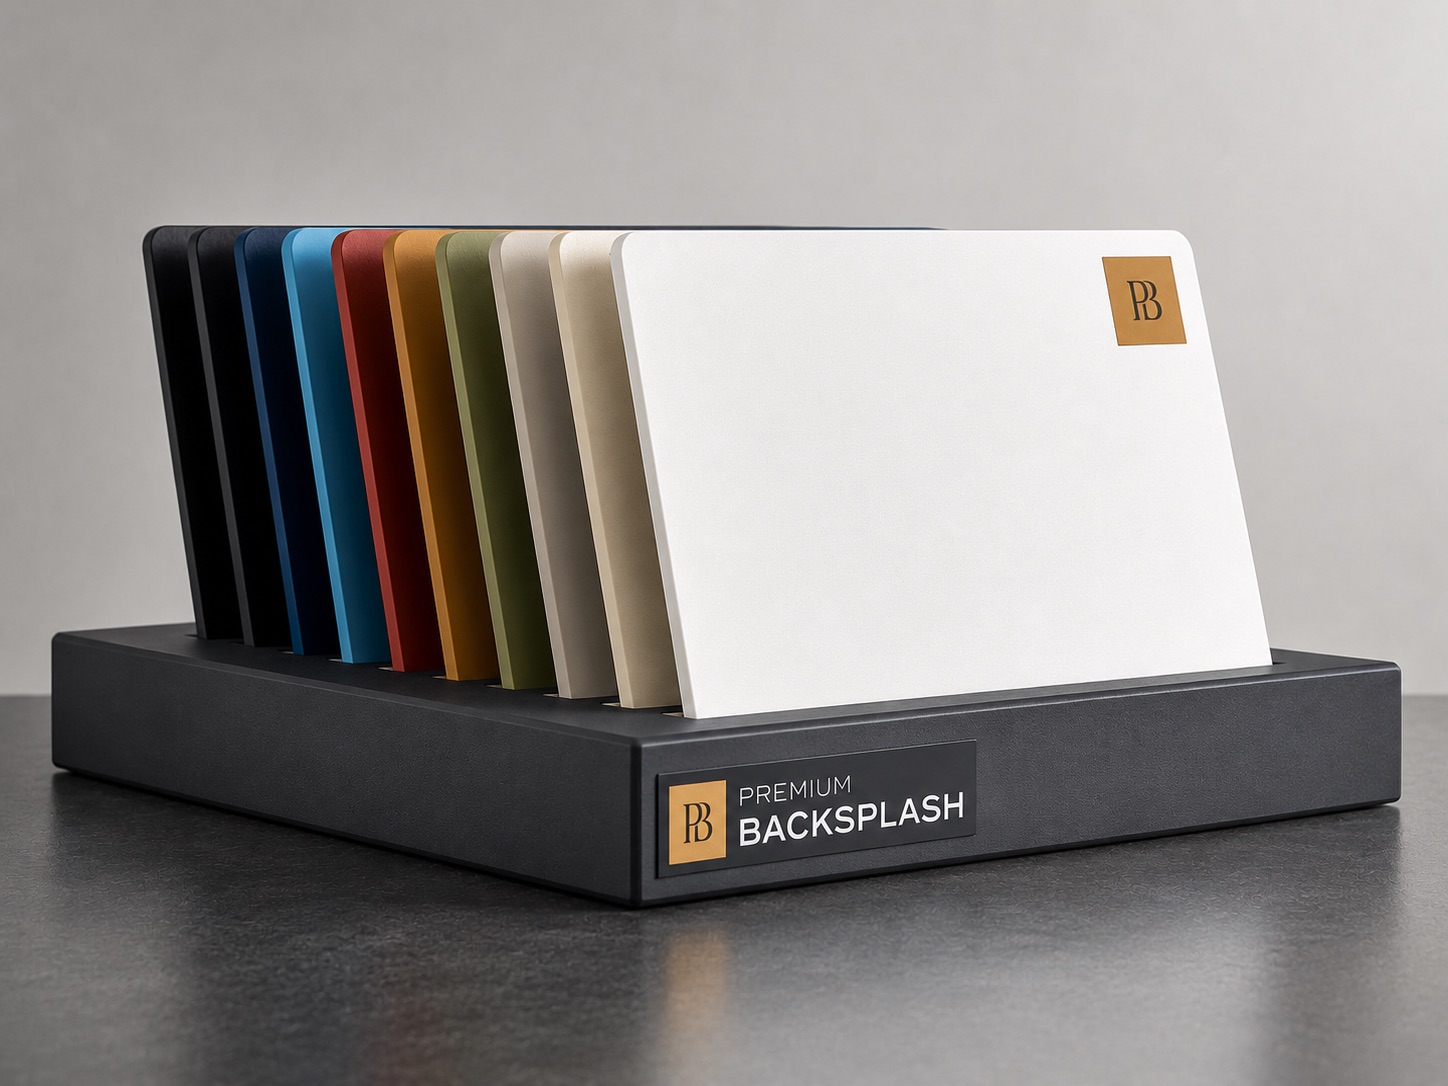
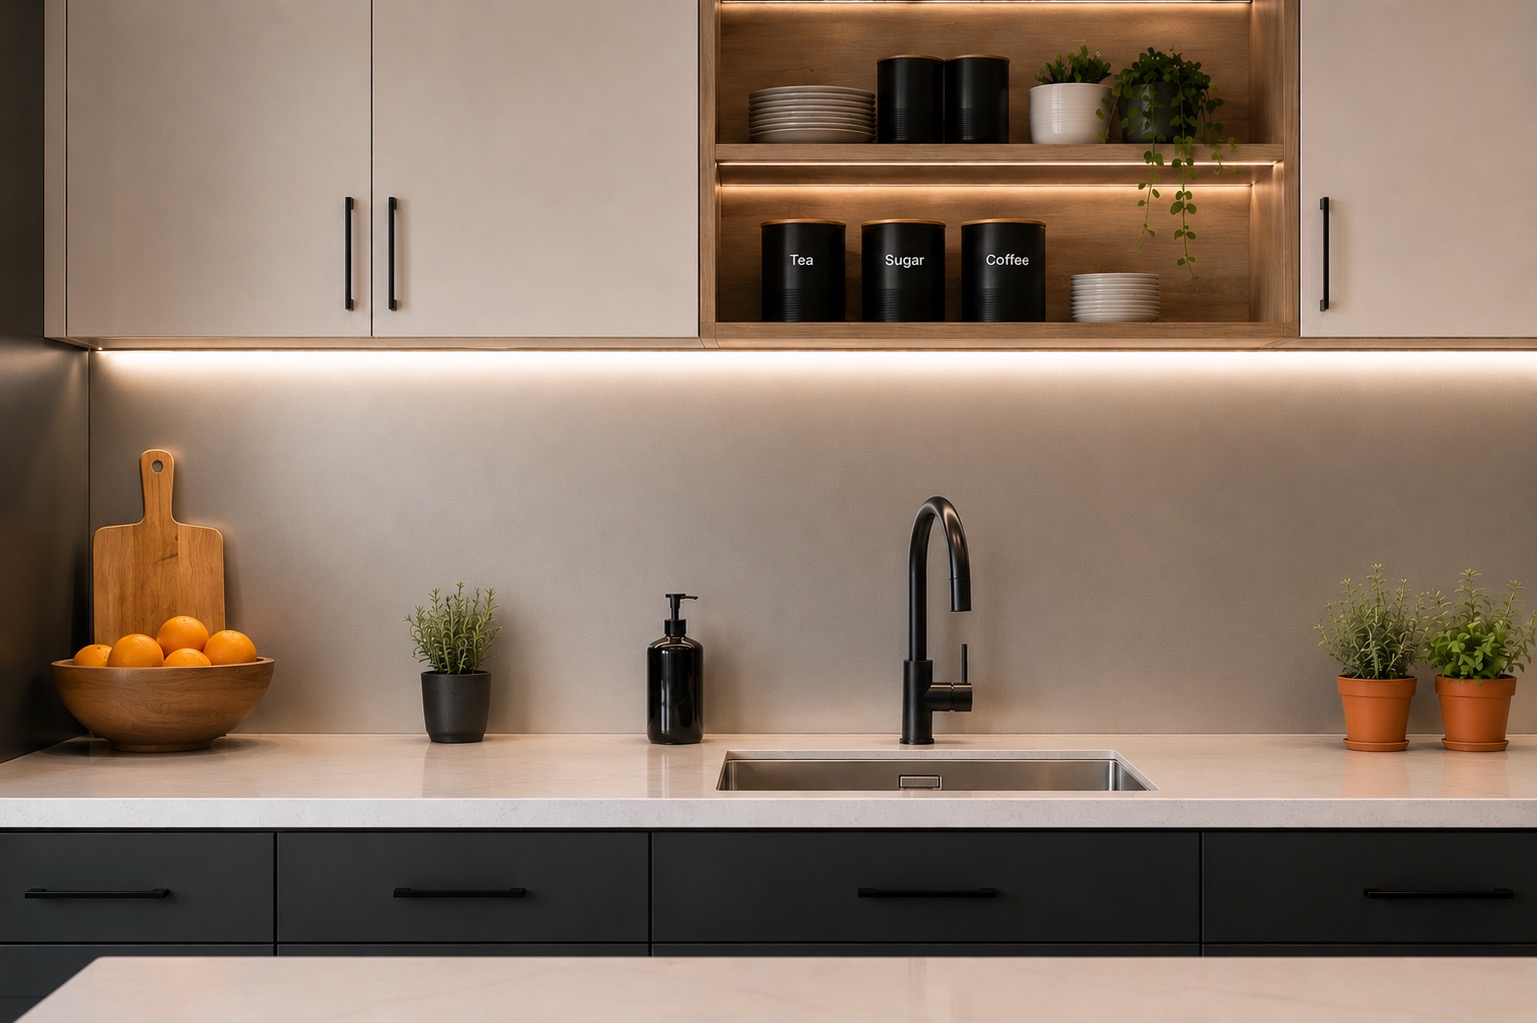
A Seamless Alternative to Consider
If you love the clean, uniform look of subway tile but dread the grout maintenance, seamless aluminum backsplash panels achieve a similar minimalist aesthetic — with zero grout lines. Premium Backsplash panels are custom-cut to your kitchen's exact dimensions in any color, including shades that complement or match the classic subway tile look. One continuous surface, installed in hours, that never needs regrouting. It's worth comparing before you commit to a grout-heavy installation.